Setting up a Google Cloud Platform VM to build AOSP
Setting up a Google Cloud Platform VM to build AOSP cost-effectively. Covers Ubuntu VM setup, nested virtualization for Cuttlefish, and machine optimization.
AOSP Build Setup
AOSP development requires a significant amount of computational power to be productive. I’d recommend studying the hardware requirements before starting this exercise of building the AOSP code base. If your machine is not powerful enough you could face build failures due to killed processes or painfully long build times.
If you’re wondering about building a machine that is optimal for AOSP builds then read this post on building an Android firmware build machine.
This guide outlines the steps to build and run a recent version of AOSP (Android 16 is used as an example) in the cloud using Google Cloud Platform (GCP), it is based on the video tutorial from 8man.tech.
Step 1: Create a Google Cloud Project to build AOSP
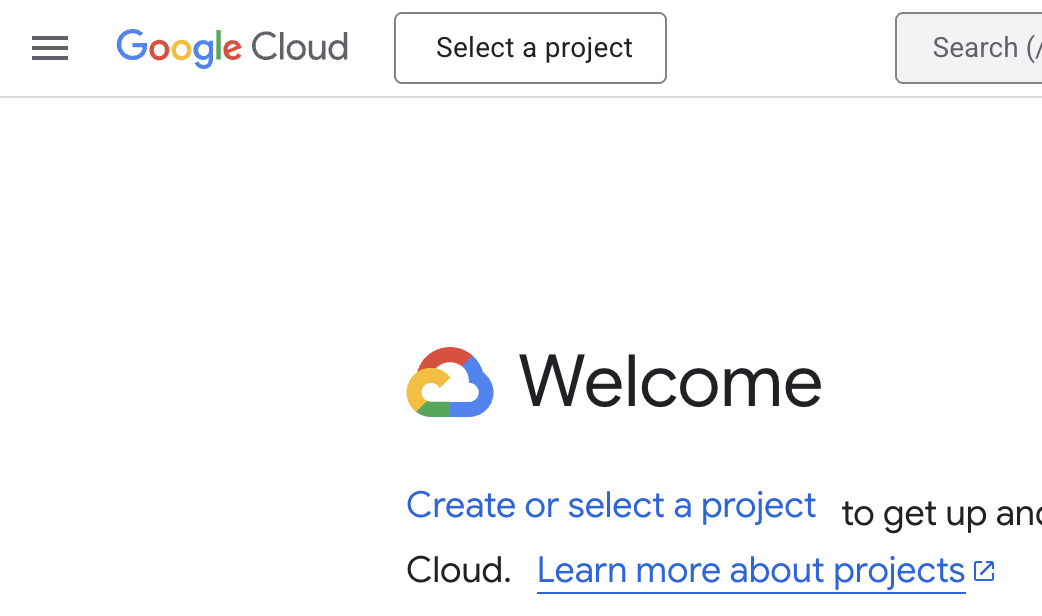
Go to google cloud console and click “Select a project”.
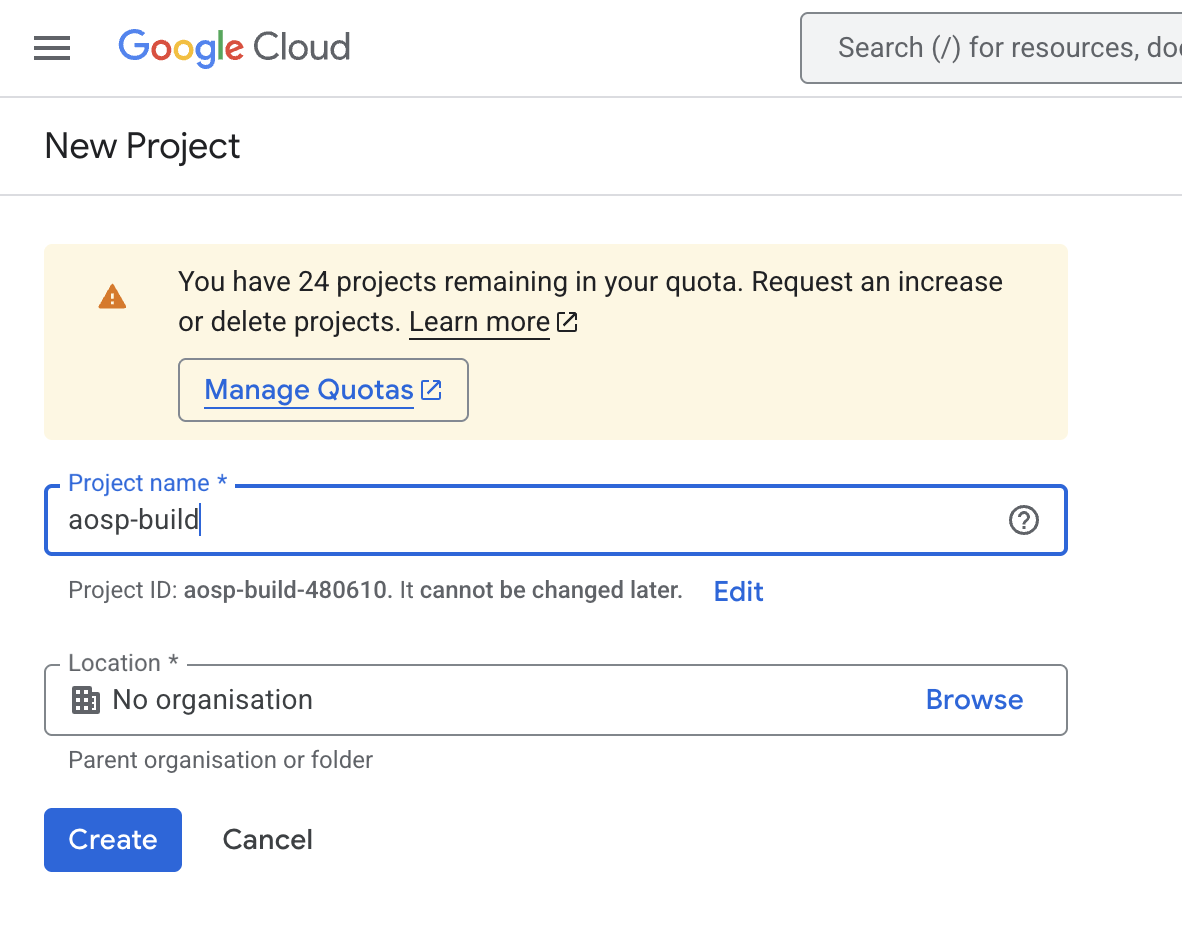
Then click on “NEW PROJECT”. For “Project name” we enter aosp-build. For “Organisation” we have “No organisation” selected. We then click the “CREATE” button.
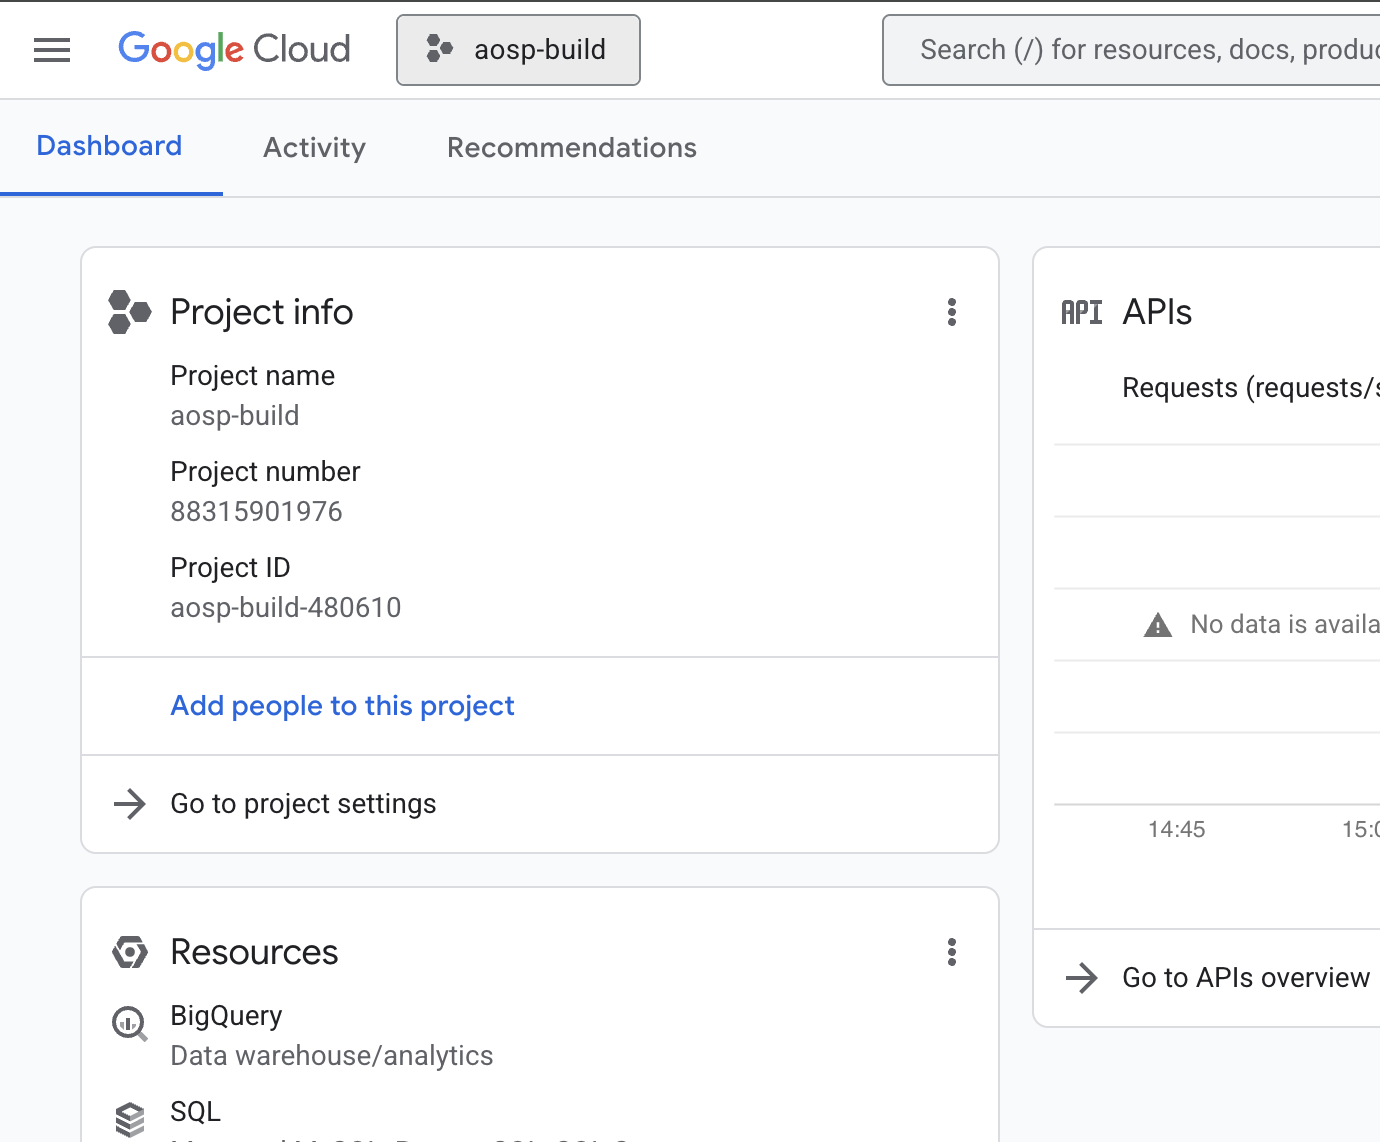
Now we can select the project and go to the dashboard.
Step 2: Enable Google Compute Engine for the AOSP build project
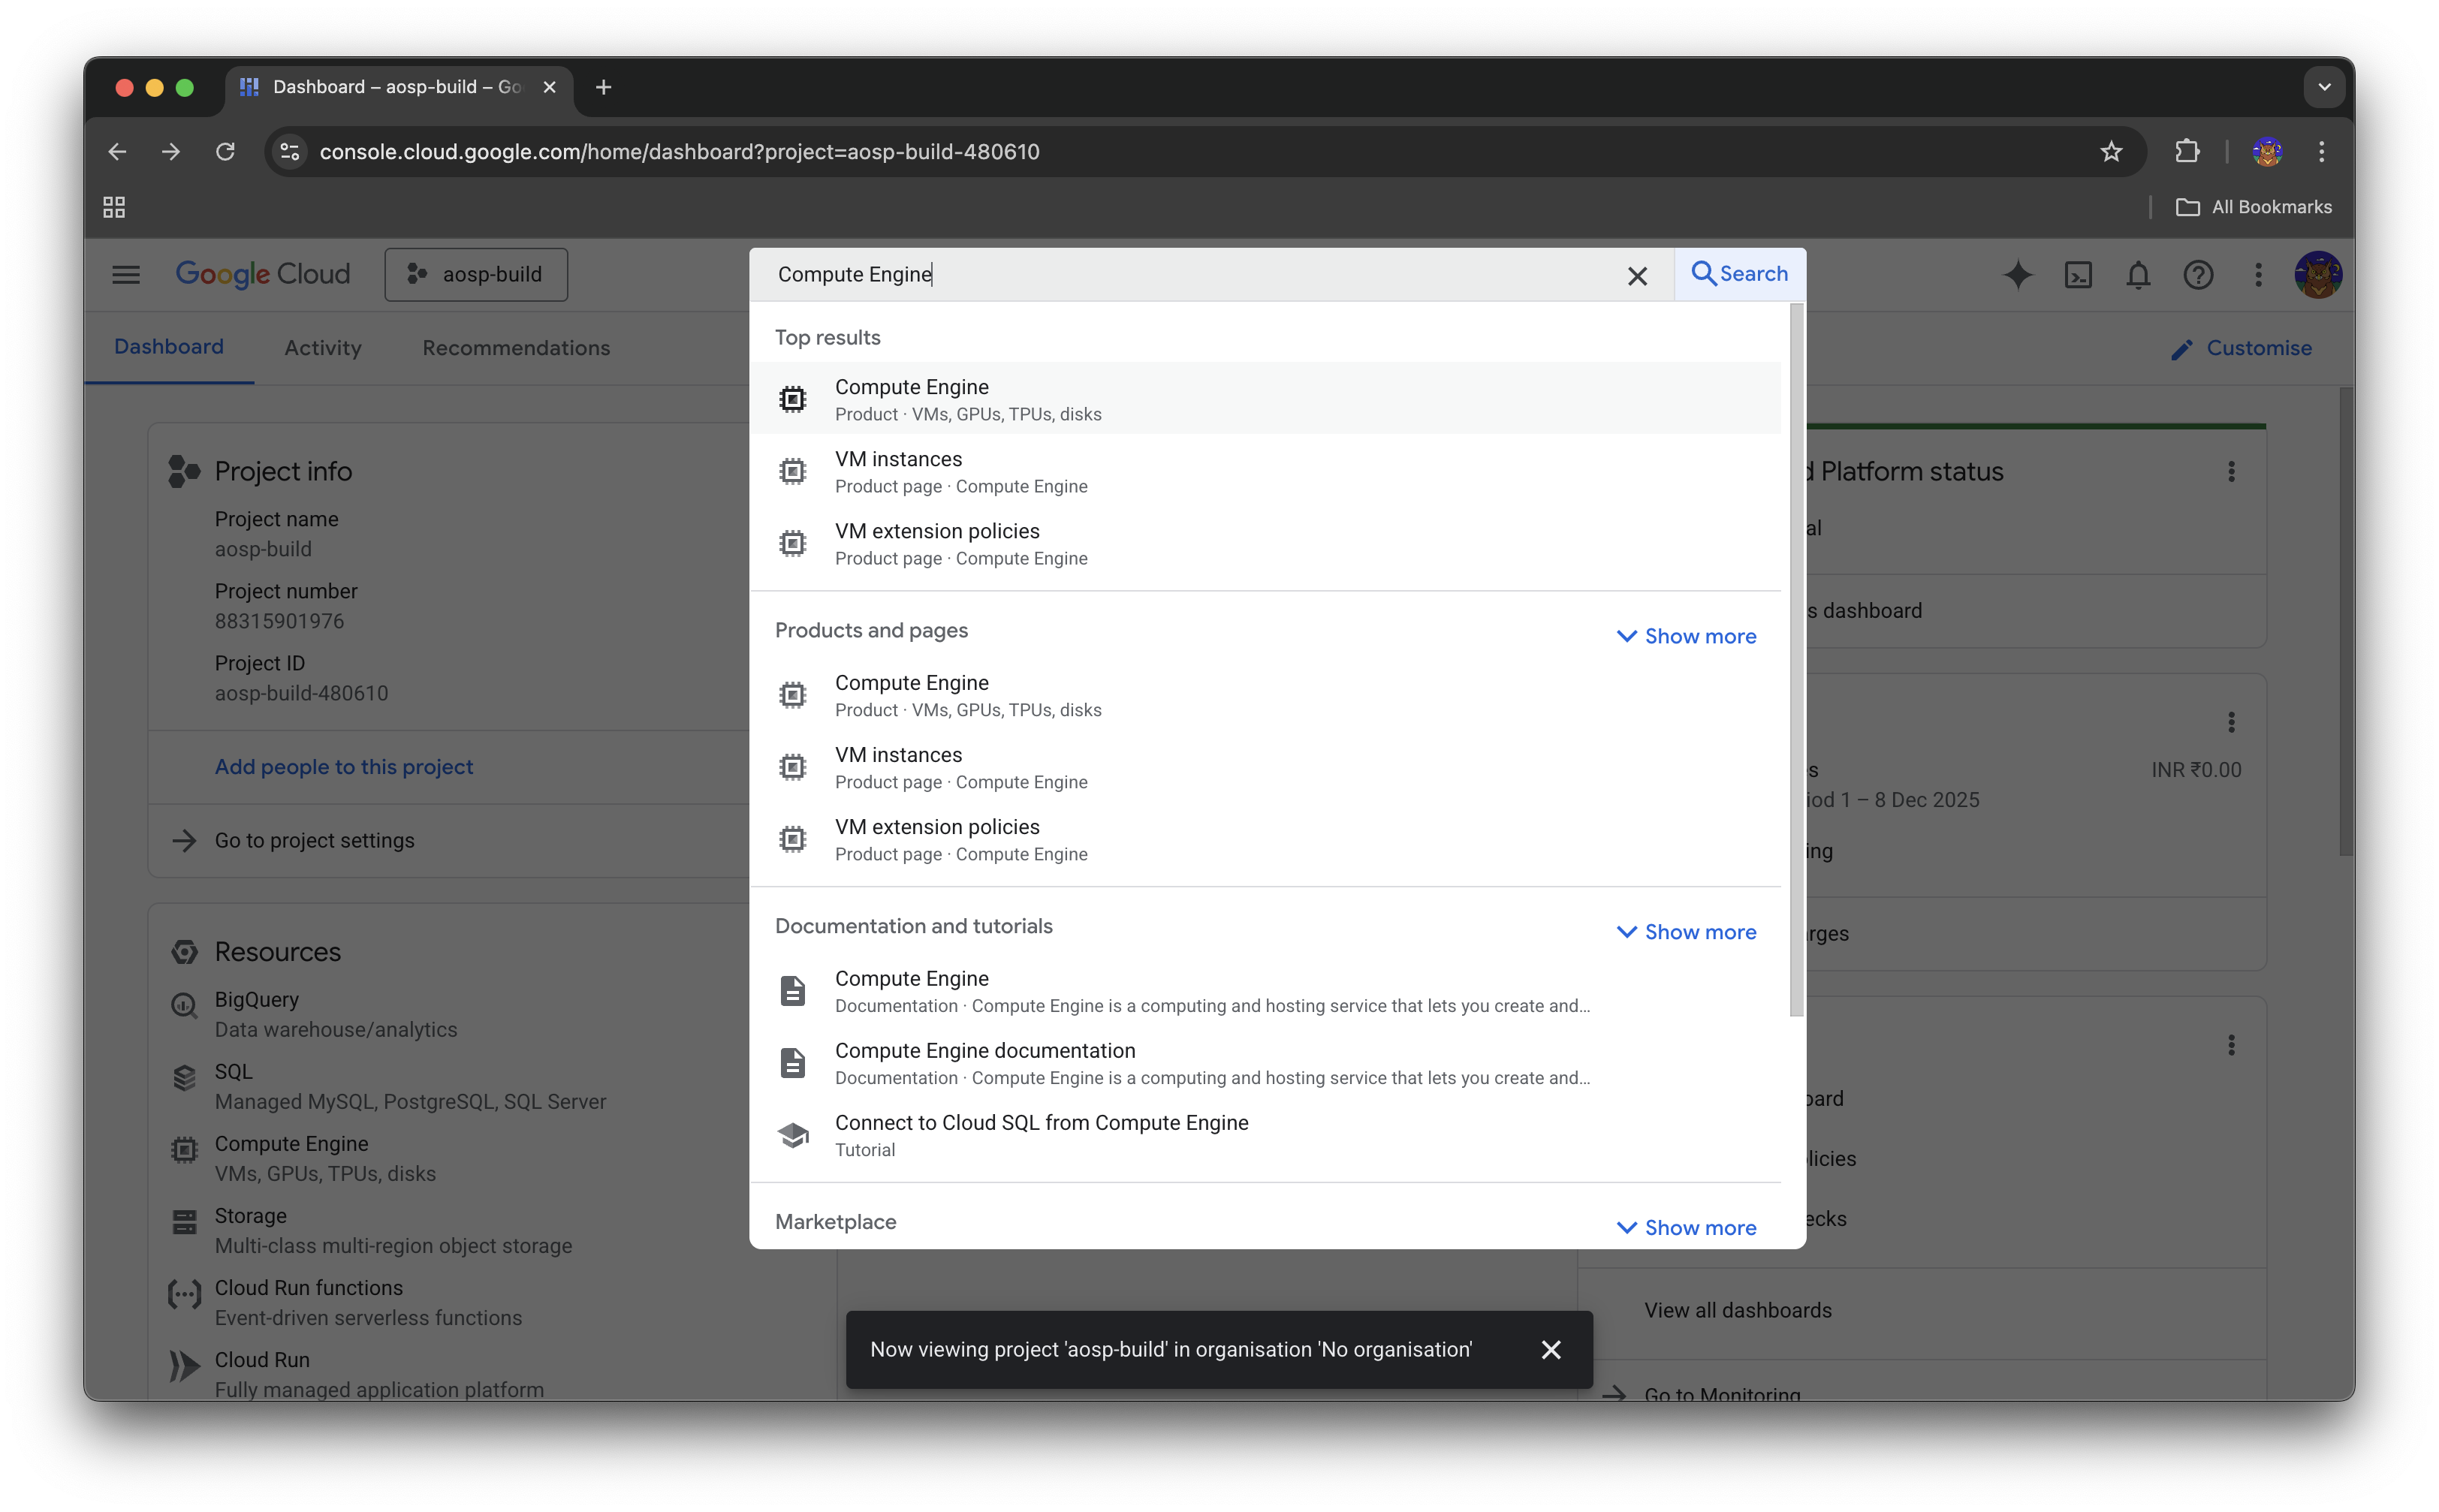
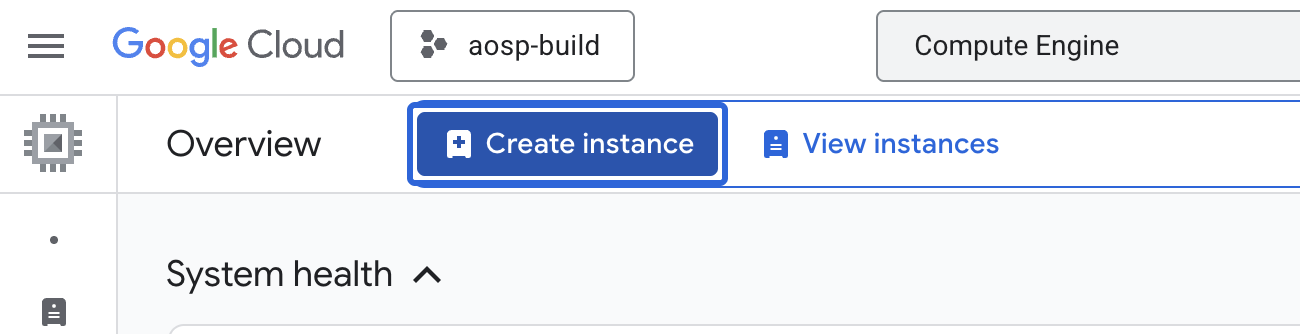
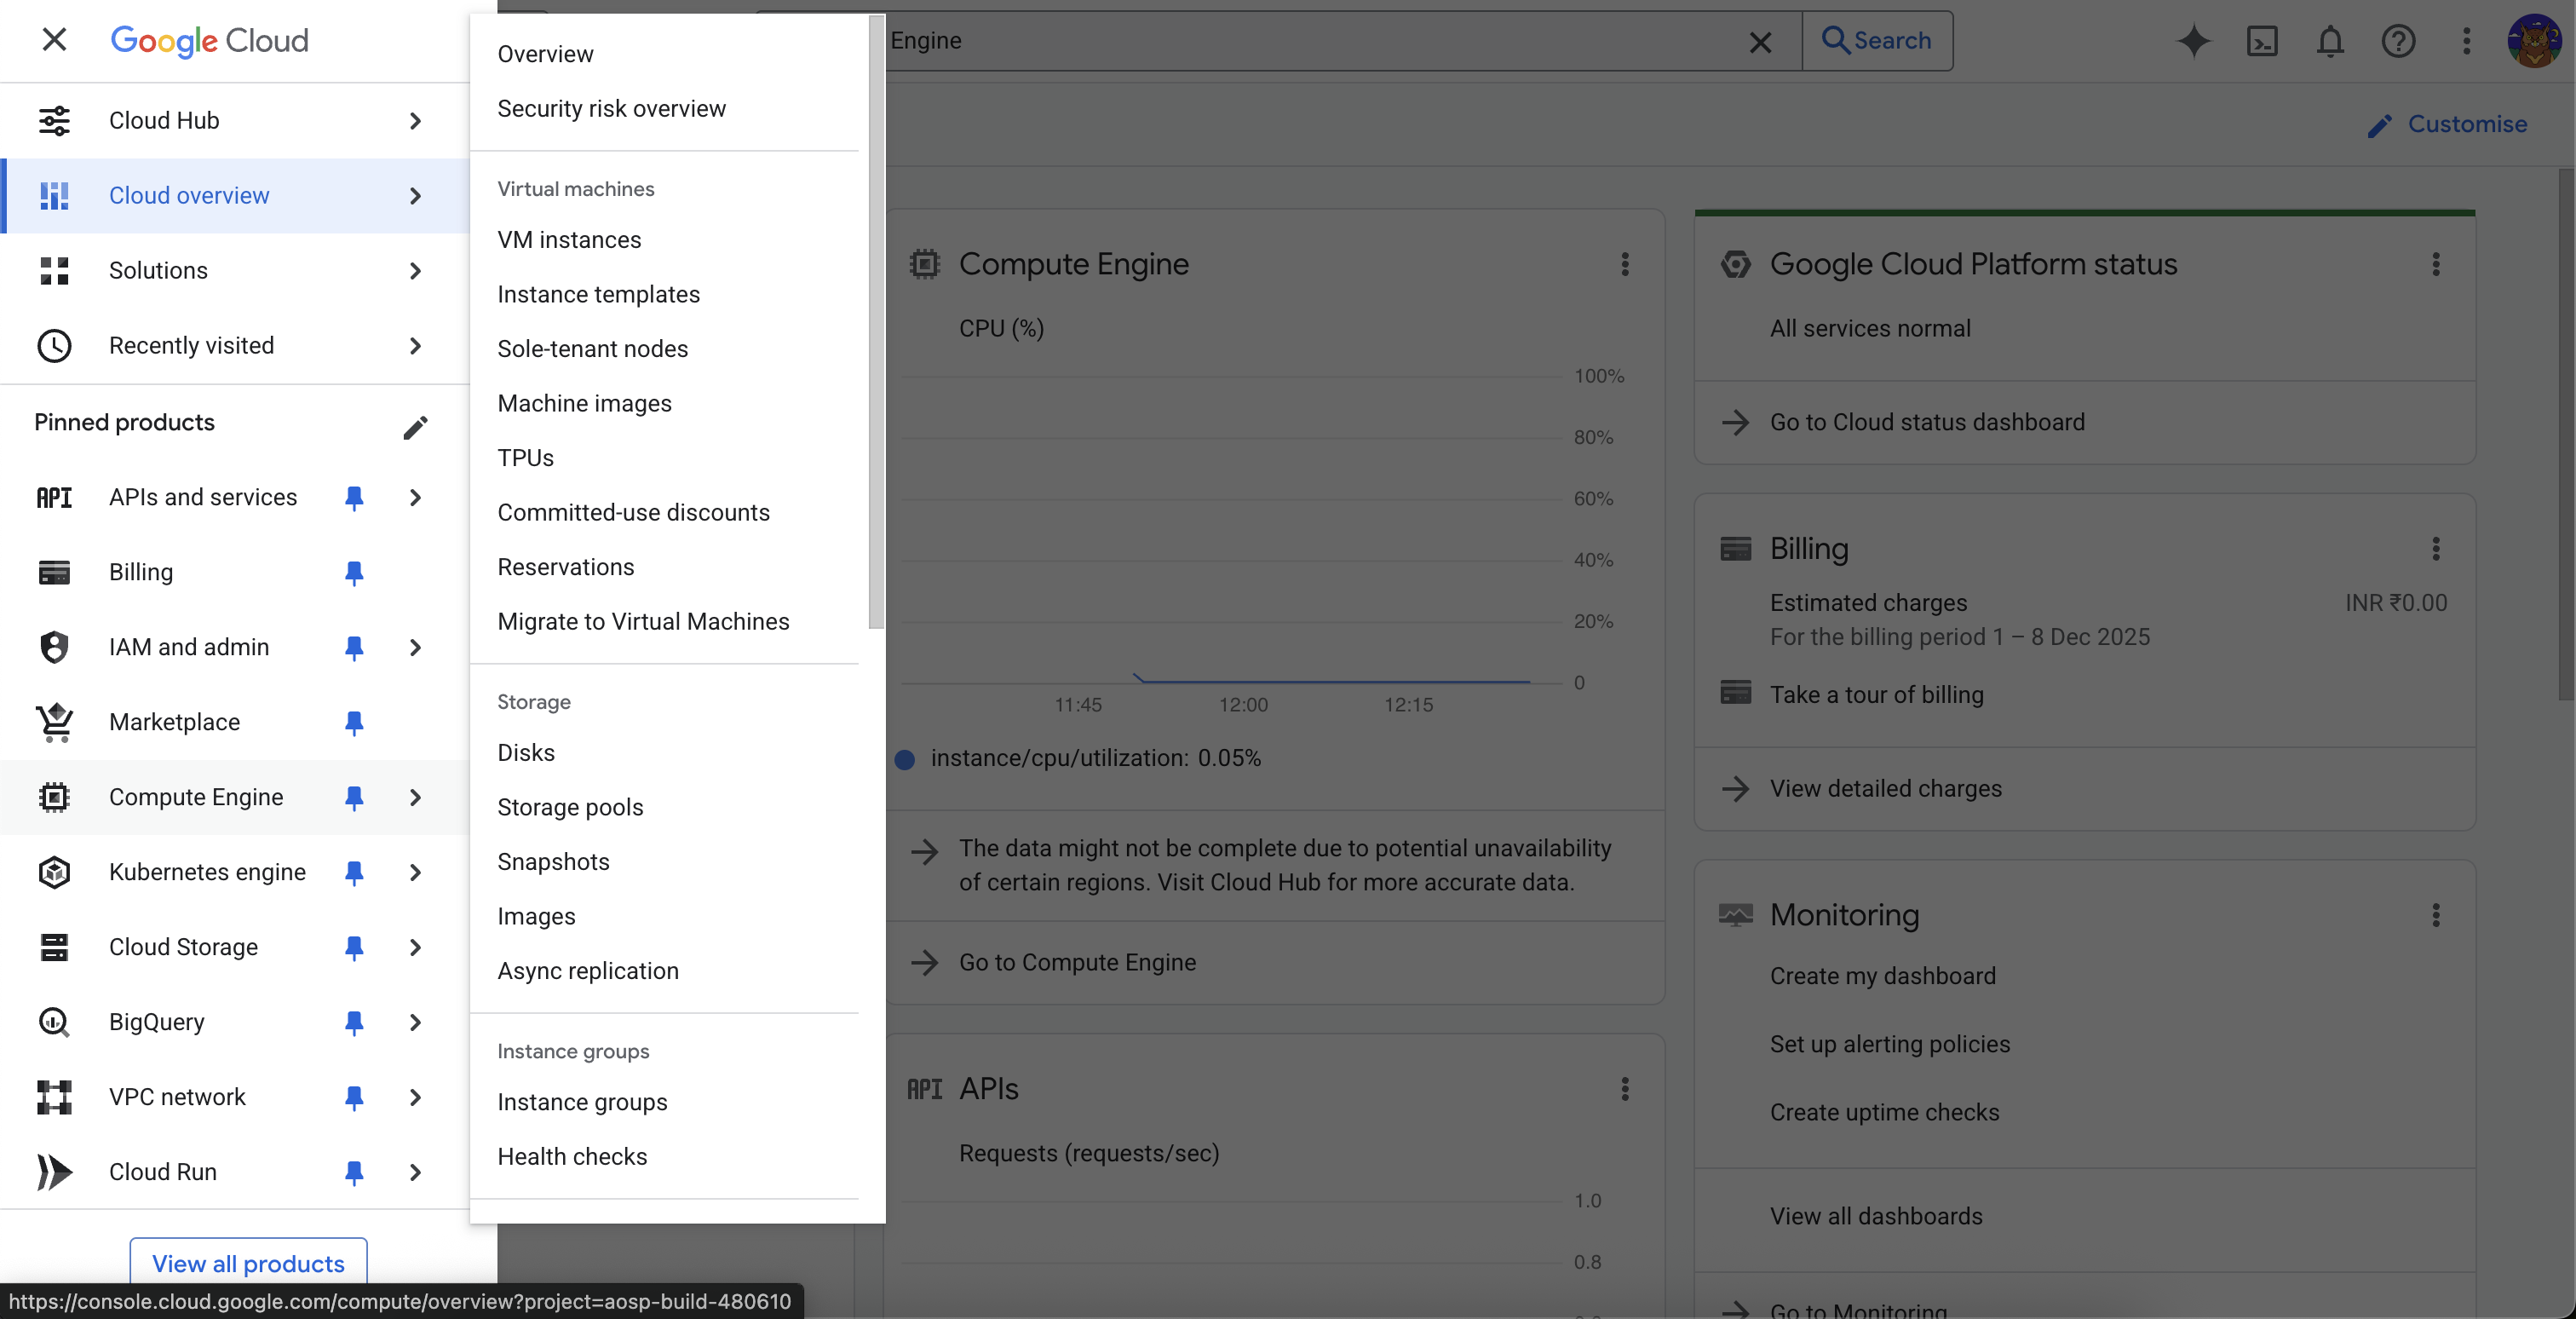
Next we need to enable the “Compute Engine API”. For this in the search bar type in “Compute Engine”. We see the overview page for compute engine for the aosp-build.
If we click on the “Create Instance” button we’re instructed to enable the compute engine API.
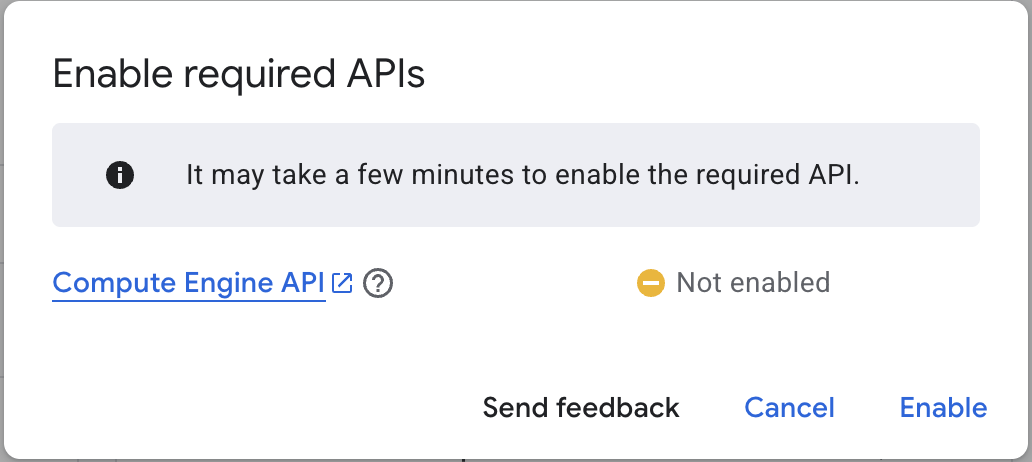
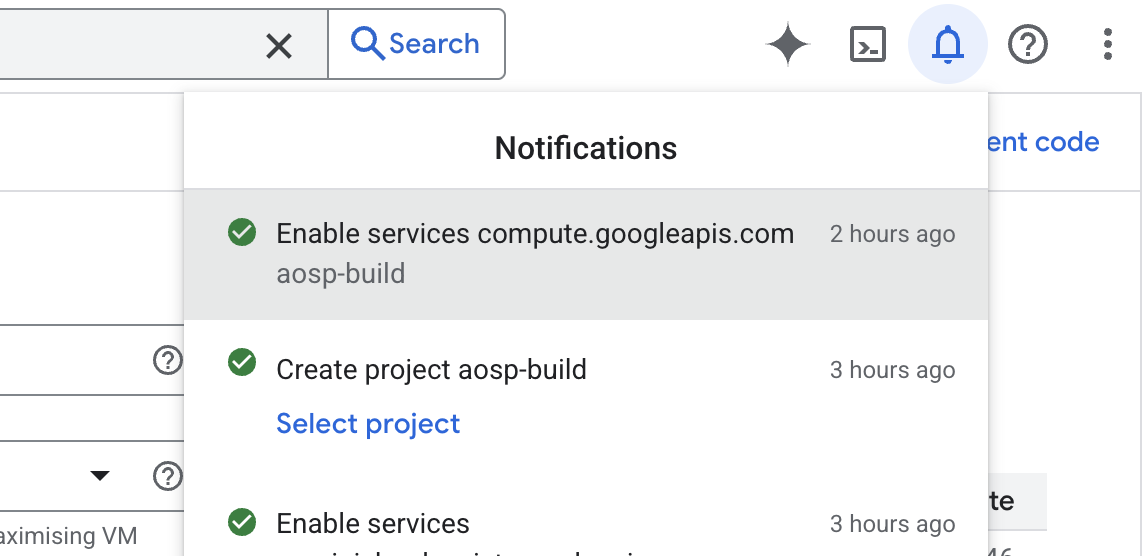
We can then click on the “Enable” link provided by the dialog prompt. This spins and shows “In progress”. Once enabled we can see a message in the notifications.
Step 3: Install gcloud CLI and connect it to your GCP account
Before we create a VM instance we will have to install the gcloud CLI on your local machine if you haven’t already.
Follow the instructions in the installation guide. An installation file will have to be installed based on the
OS being used. Once the installation script is run, it will prompt for some configuration settings e.g. installation
of specific version of python. After installation, open a new terminal and gcloud should be available.
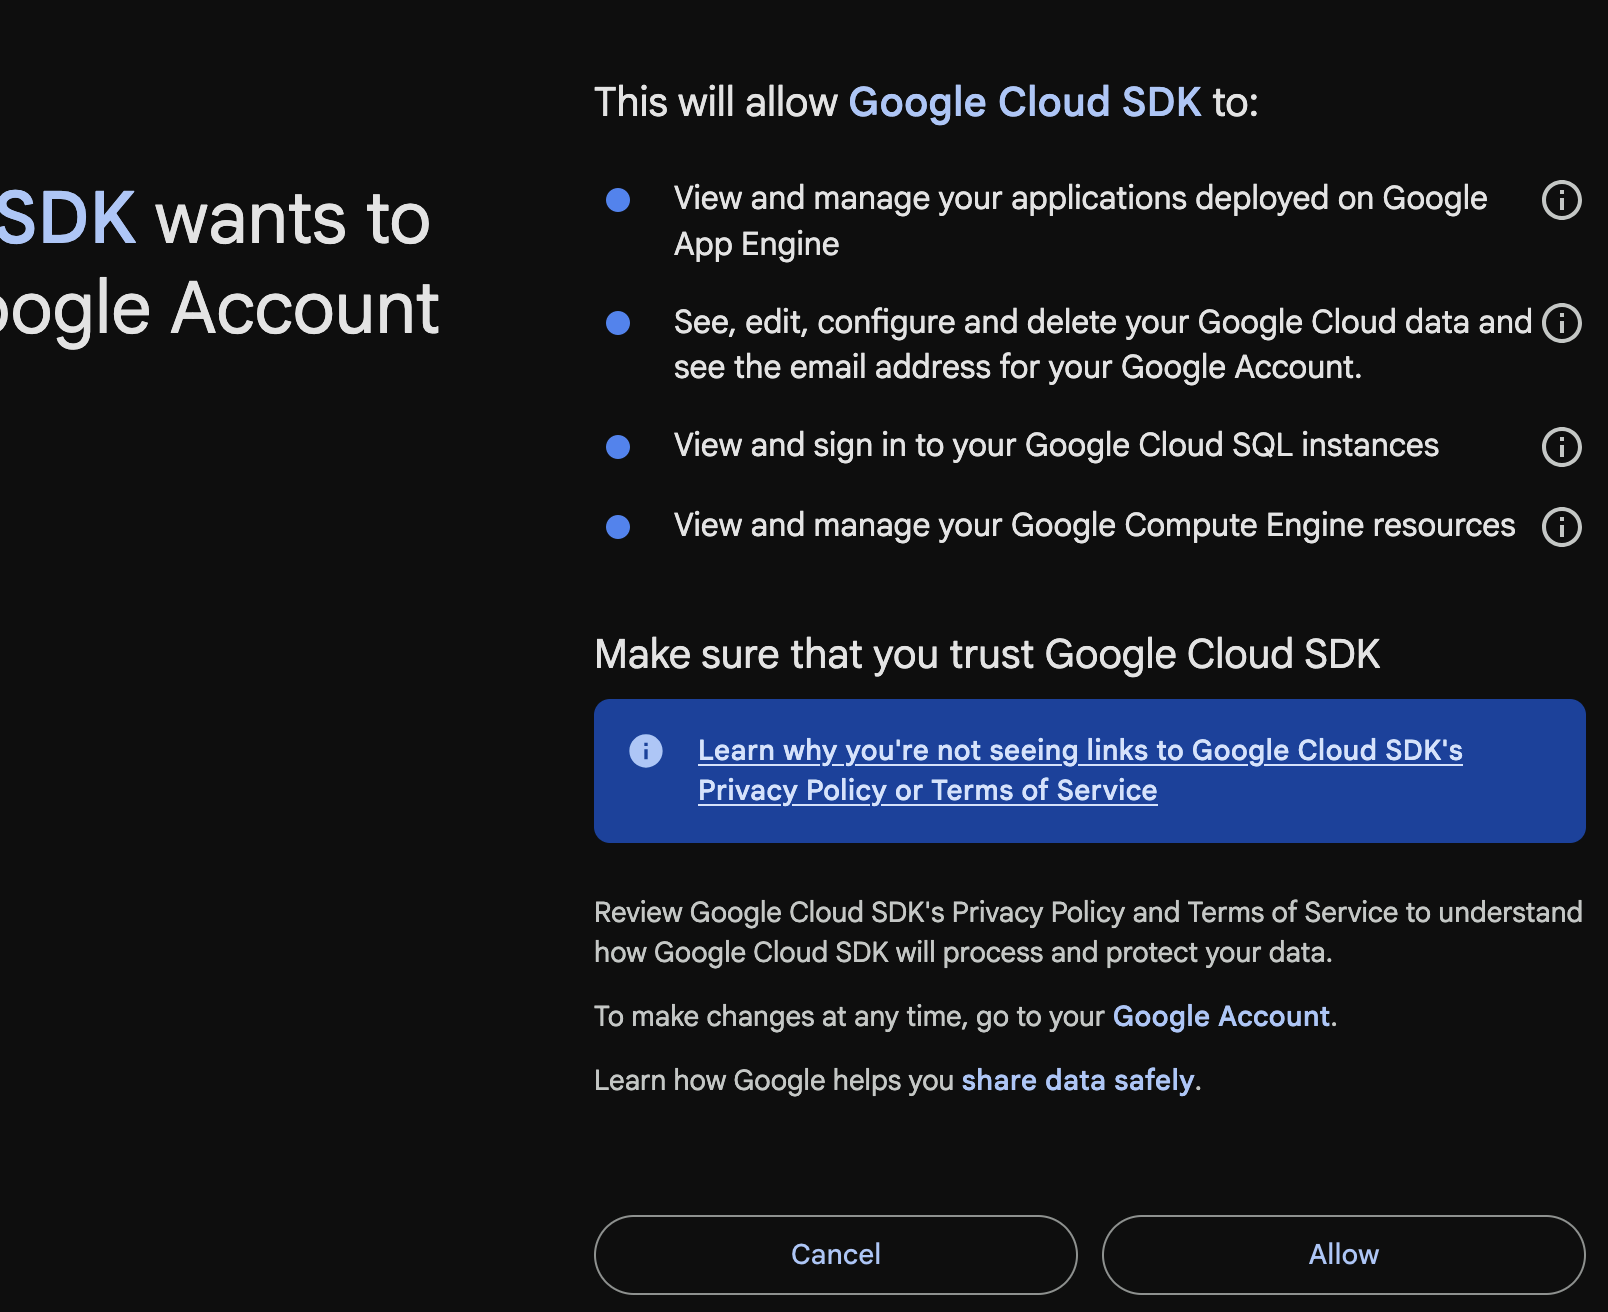
To initialize the gcloud CLI run gcloud init. If this is the first installation there will be a prompt
to sign in to Google Cloud SDK with a google account with which the google cloud account was created.
➜  gcloud init
Welcome! This command will take you through the configuration of gcloud.

Your current configuration has been set to: [default]

You can skip diagnostics next time by using the following flag:
  gcloud init --skip-diagnostics

Network diagnostic detects and fixes local network connection issues.
Checking network connection...done.
Reachability Check passed.
Network diagnostic passed (1/1 checks passed).

You must sign in to continue. Would you like to sign in (Y/n)?
It will ask to allow Google Cloud SDK to gain access to view and manage applications, data, resources, etc.
Once successfully authenticated we land on a authentication success page. Looking back at the terminal
we are shown the projects that are configured with our google cloud account. We select the aosp-build-480610
project and configure default compute region and zone based on our location.
You are signed in as: [xxxxxx@gmail.com].

Pick cloud project to use:
 [1] aosp-build-480610
 [2] Enter a project ID
 [3] Create a new project
Please enter numeric choice or text value (must exactly match list item):  1

Your current project has been set to: [aosp-build-480610].

Do you want to configure a default Compute Region and Zone? (Y/n)?

Which Google Compute Engine zone would you like to use as project default?
If you do not specify a zone via a command line flag while working with Compute Engine resources, the default is assumed.
 [1] Do not set default zone
 [2] us-east1-b
 [3] us-east1-c
.
.
.

 [50] asia-east2-c
Did not print [78] options.
Too many options [128]. Enter "list" at prompt to print choices fully.
Please enter numeric choice or text value (must exactly match list item):  38

Your project default Compute Engine zone has been set to [asia-south1-a].
You can change it by running [gcloud config set compute/zone NAME].

Your project default Compute Engine region has been set to [asia-south1].
You can change it by running [gcloud config set compute/region NAME].
.
.
.
Step 4: Create an Ubuntu 22.04 VM with VMX enabled
Create a virtual machine instance with Ubuntu 22.04 to host and build AOSP. Crucially, ensure VMX (Virtual Machine Extensions) is enabled to support nested virtualization, which is required for running the Cuttlefish device.
We can inspect the list of images available and their family classification:
➜  gcloud compute images list --project ubuntu-os-cloud --no-standard-images --sort-by=~creationTimestamp
NAME                                          PROJECT          FAMILY                         DEPRECATED  STATUS
ubuntu-2504-plucky-arm64-v20251205            ubuntu-os-cloud  ubuntu-2504-arm64                          READY
ubuntu-2504-plucky-amd64-v20251205            ubuntu-os-cloud  ubuntu-2504-amd64                          READY
ubuntu-minimal-2504-plucky-amd64-v20251205    ubuntu-os-cloud  ubuntu-minimal-2504-amd64                  READY
ubuntu-minimal-2504-plucky-arm64-v20251205    ubuntu-os-cloud  ubuntu-minimal-2504-arm64                  READY
ubuntu-minimal-2404-noble-arm64-v20251204     ubuntu-os-cloud  ubuntu-minimal-2404-lts-arm64              READY
ubuntu-minimal-2404-noble-amd64-v20251204     ubuntu-os-cloud  ubuntu-minimal-2404-lts-amd64              READY
ubuntu-2404-noble-amd64-v20251205             ubuntu-os-cloud  ubuntu-2404-lts-amd64                      READY
ubuntu-2404-noble-arm64-v20251205             ubuntu-os-cloud  ubuntu-2404-lts-arm64                      READY
ubuntu-2510-questing-amd64-v20251205          ubuntu-os-cloud  ubuntu-2510-amd64                          READY
ubuntu-2510-questing-arm64-v20251205          ubuntu-os-cloud  ubuntu-2510-arm64                          READY
ubuntu-minimal-2510-questing-amd64-v20251205  ubuntu-os-cloud  ubuntu-minimal-2510-amd64                  READY
ubuntu-minimal-2510-questing-arm64-v20251205  ubuntu-os-cloud  ubuntu-minimal-2510-arm64                  READY
ubuntu-minimal-2204-jammy-arm64-v20251204     ubuntu-os-cloud  ubuntu-minimal-2204-lts-arm64              READY
ubuntu-minimal-2204-jammy-v20251204           ubuntu-os-cloud  ubuntu-minimal-2204-lts                    READY
ubuntu-2204-jammy-v20251203                   ubuntu-os-cloud  ubuntu-2204-lts                            READY
ubuntu-2204-jammy-arm64-v20251203             ubuntu-os-cloud  ubuntu-2204-lts-arm64                      READY
We create a disk named aospdisk using the ubuntu-2204-lts family of images in the ubuntu-os-cloud project.
➜  gcloud compute disks create aospdisk \
--image-project ubuntu-os-cloud \
--image-family ubuntu-2204-lts \
--zone asia-south1-a --size=1000
Created [https://www.googleapis.com/compute/v1/projects/aosp-build-480610/zones/asia-south1-a/disks/aospdisk].
WARNING: Some requests generated warnings:
 - Disk size: '1000 GB' is larger than image size: '10 GB'. You might need to resize the root repartition manually if the operating system does not support automatic resizing. See https://cloud.google.com/compute/docs/disks/add-persistent-disk#resize_pd for details.

NAME      ZONE           SIZE_GB  TYPE         STATUS
aospdisk  asia-south1-a  1000     pd-standard  READY
We create a custom image with a special license key that enables VMX. Guidelines can be found in the google cloud document on enabling nested virtualization.
Cuttlefish is a VM: Cuttlefish isn’t just an emulator in the traditional sense (like the old QEMU-based Android Emulator that translated ARM instructions to x86). It actually runs the Android OS inside a virtual machine (usually via crosvm, which uses KVM).
Your GCP Instance is a VM: When you rent a server on Google Cloud (Compute Engine), you are getting a Virtual Machine, not a bare-metal physical server. VM inside a VM = Nested Virtualization: Since Cuttlefish (the guest VM) is running inside your GCP instance (the host VM), you are nesting them.
License Key Requirement: For the “inner” VM (Cuttlefish) to run efficiently, it needs access to hardware virtualization instructions (like VMX on Intel). By default, Google Cloud’s hypervisor hides these instructions from your VM for security and performance reasons. Adding the enable-vmx license explicitly tells Google Cloud, “Please pass these hardware instructions through to my VM so I can run my own VMs inside it.”
➜  gcloud compute images create aospimage \
--source-disk aospdisk \
--source-disk-zone asia-south1-a \
--licenses "https://www.googleapis.com/compute/v1/projects/vm-options/global/licenses/enable-vmx"
Created [https://www.googleapis.com/compute/v1/projects/aosp-build-480610/global/images/aospimage].
NAME       PROJECT            FAMILY  DEPRECATED  STATUS
aospimage  aosp-build-480610                      READY
- gcloud compute images create aospimage: Creates a new custom OS image named aospimage.
--source-disk aospdisk: Uses the disk named aospdisk (which was presumably created in the previous step) as the contents for this new image.--source-disk-zone asia-south1-a: Tells Google Cloud that the source disk is located in the asia-south1-a zone.--licenses ".../enable-vmx"This is the most important part. It attaches a special license key to the image that enables VMX (Virtual Machine Extensions).
We can now create a VM instance using the image we created above. This fails and changing the zone to asia-south1-b and asia-south1-c also doesn’t help. The default option is to create a N1 type machine.
Architecture: Older Intel Skylake or Broadwell CPUs.
Performance: slower instructions per clock.
Price: Slightly cheaper, but often less cost-effective because they are slower.
Availability: These are being phased out in some zones or are often “sold out” (resource
exhausted) because they are old hardware.
➜ gcloud compute instances create aosp1 --zone asia-south1-a --image aospimage
ERROR: (gcloud.compute.instances.create) Could not fetch resource:
---
code: ZONE_RESOURCE_POOL_EXHAUSTED
errorDetails:
- help:
    links:
    - description: Troubleshooting documentation
      url: https://cloud.google.com/compute/docs/resource-error
- localizedMessage:
    locale: en-US
    message: A n1-standard-1 VM instance is currently unavailable in the asia-south1-a
      zone. Alternatively, you can try your request again with a different VM hardware
      configuration or at a later time. For more information, see the troubleshooting
      documentation.
- errorInfo:
    domain: compute.googleapis.com
    metadatas:
      attachment: ''
      vmType: n1-standard-1
      zone: asia-south1-a
      zonesAvailable: ''
    reason: resource_availability
message: The zone 'projects/aosp-build-480610/zones/asia-south1-a' does not have enough
  resources available to fulfill the request.  Try a different zone, or try again
  later.
Another option is to use N2 which is a newer generation
Architecture: Newer Intel Cascade Lake or Ice Lake CPUs.
Performance: ~20-30% faster than N1 for the same number of vCPUs.
Features: Better support for newer instruction sets.
Price: Slightly more expensive per hour, but usually cheaper per build because the build finishes much faster.
➜  aosp-gcp gcloud compute instances create aosp1 --zone asia-south1-a --image aospimage --machine-type\
>  n2-standard-4
Created [https://www.googleapis.com/compute/v1/projects/aosp-build-480610/zones/asia-south1-a/instances/aosp1].
NAME   ZONE           MACHINE_TYPE   PREEMPTIBLE  INTERNAL_IP  EXTERNAL_IP     STATUS
aosp1  asia-south1-a  n2-standard-4               10.160.0.2   35.200.250.134  RUNNING
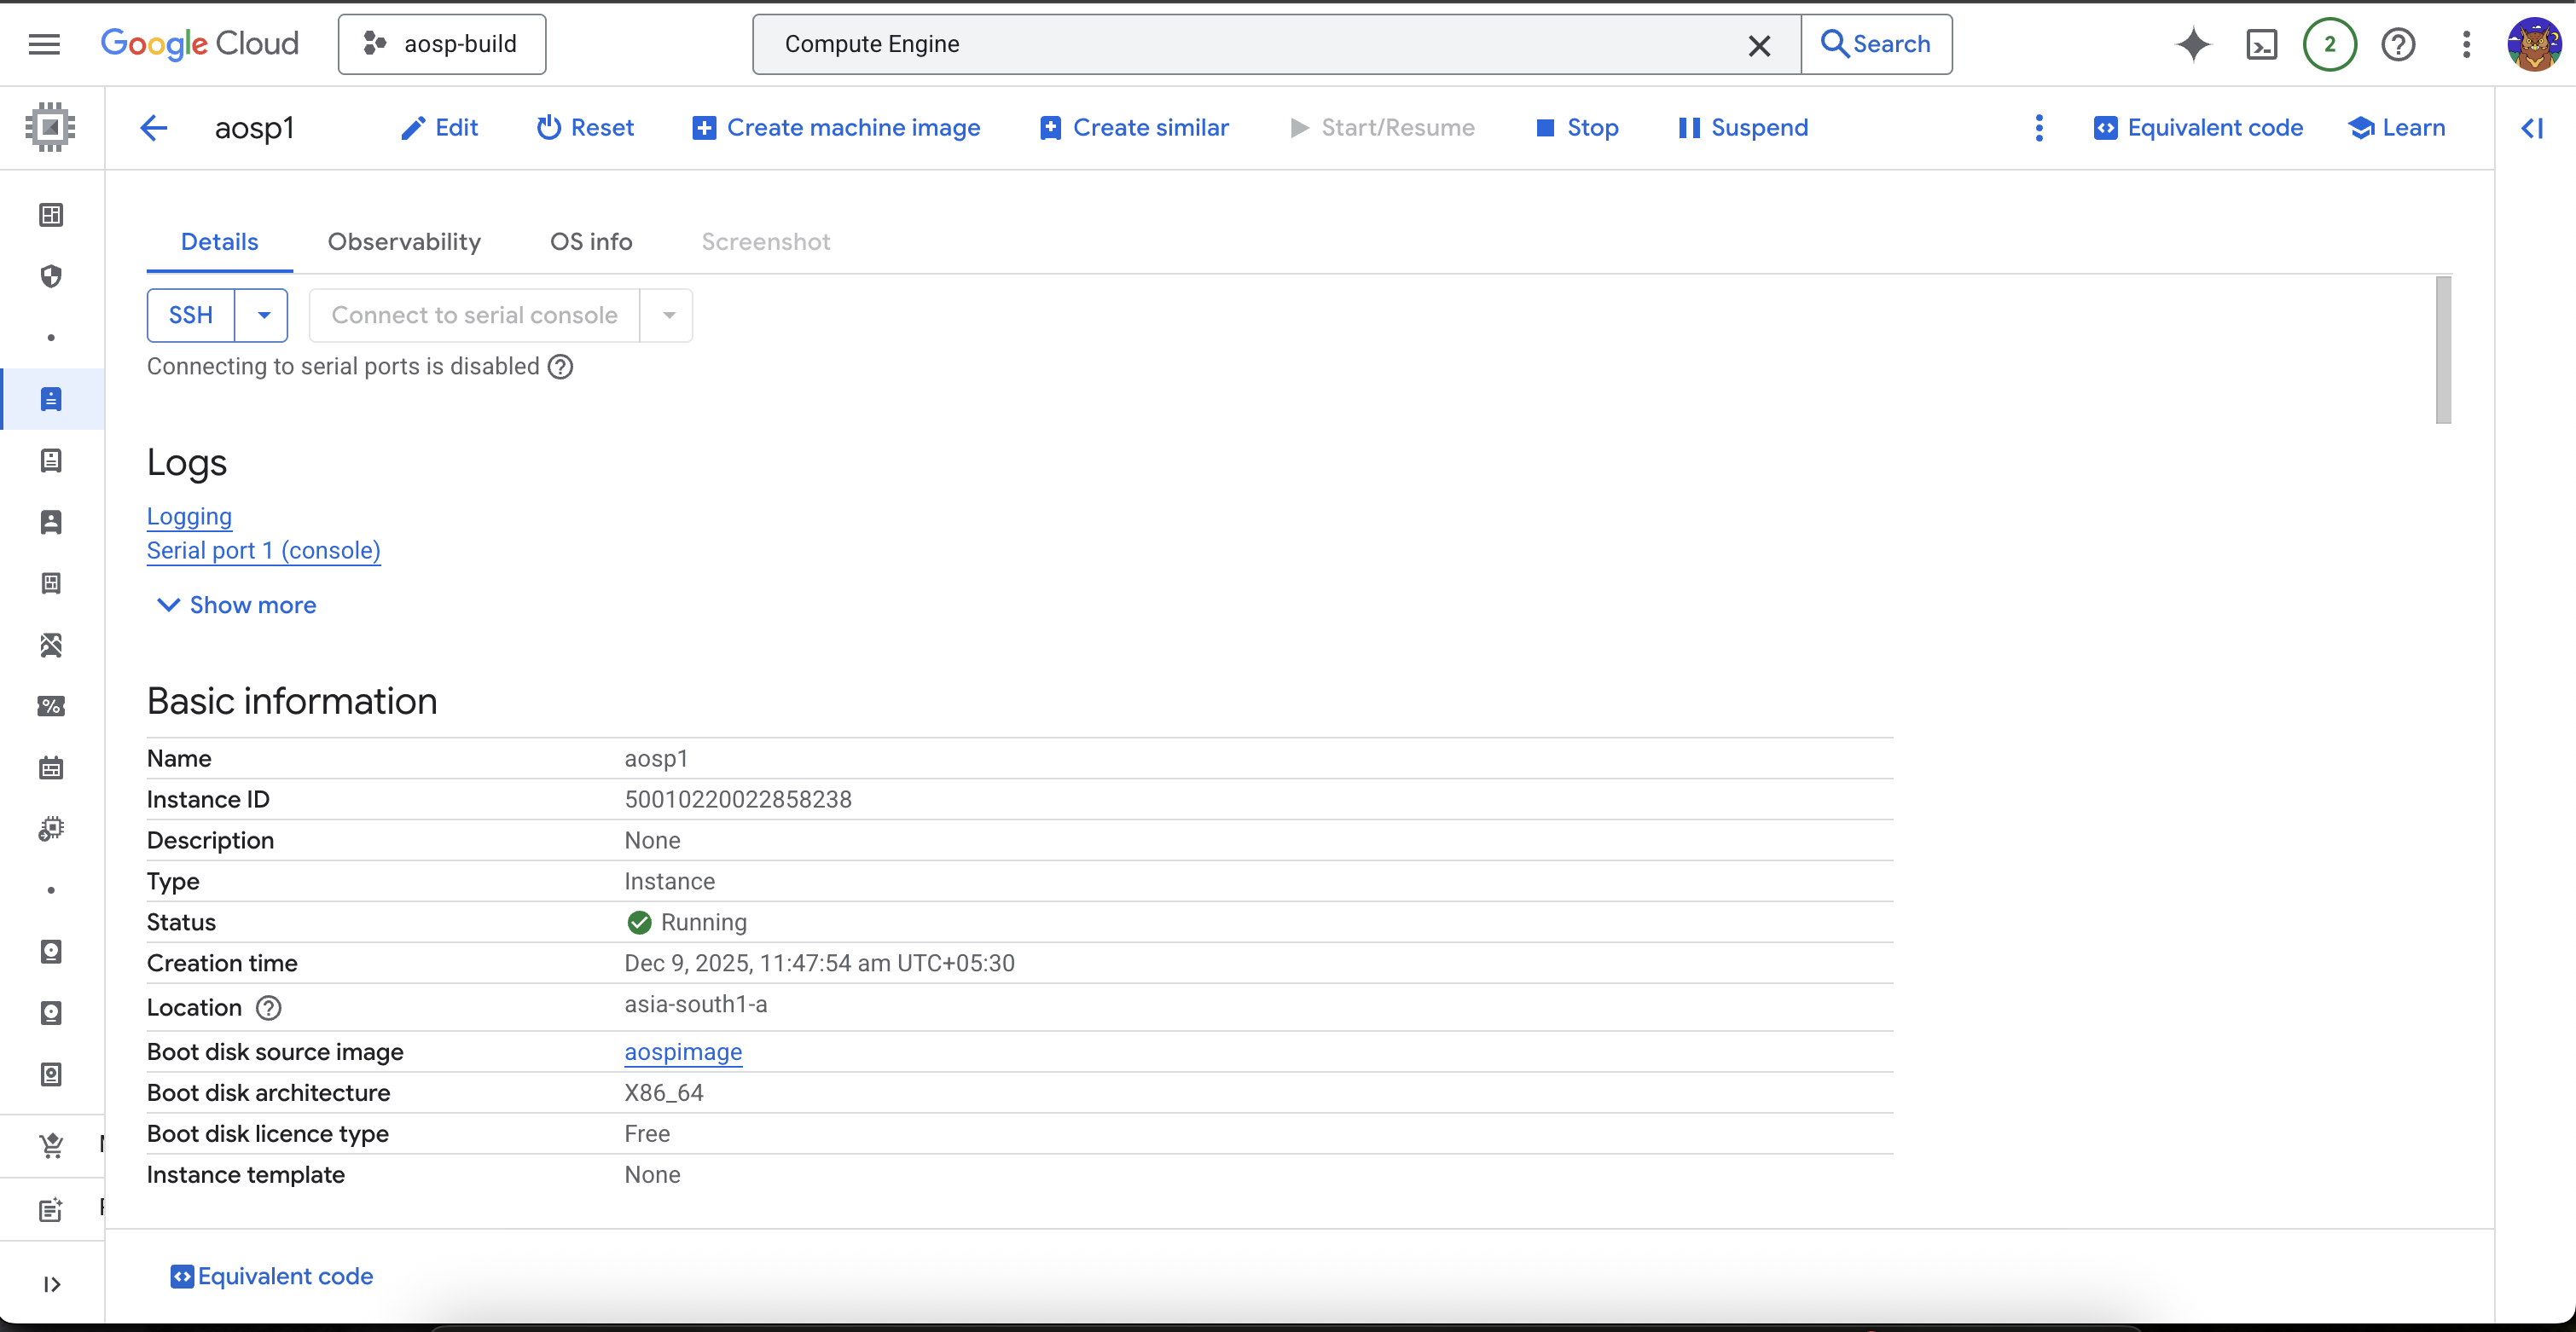
The instance can be viewed in the “Compute Engine”, “VM instances” section.
On clicking the aosp1 instance we get access to the configuration and run time settings and controls for the instance.
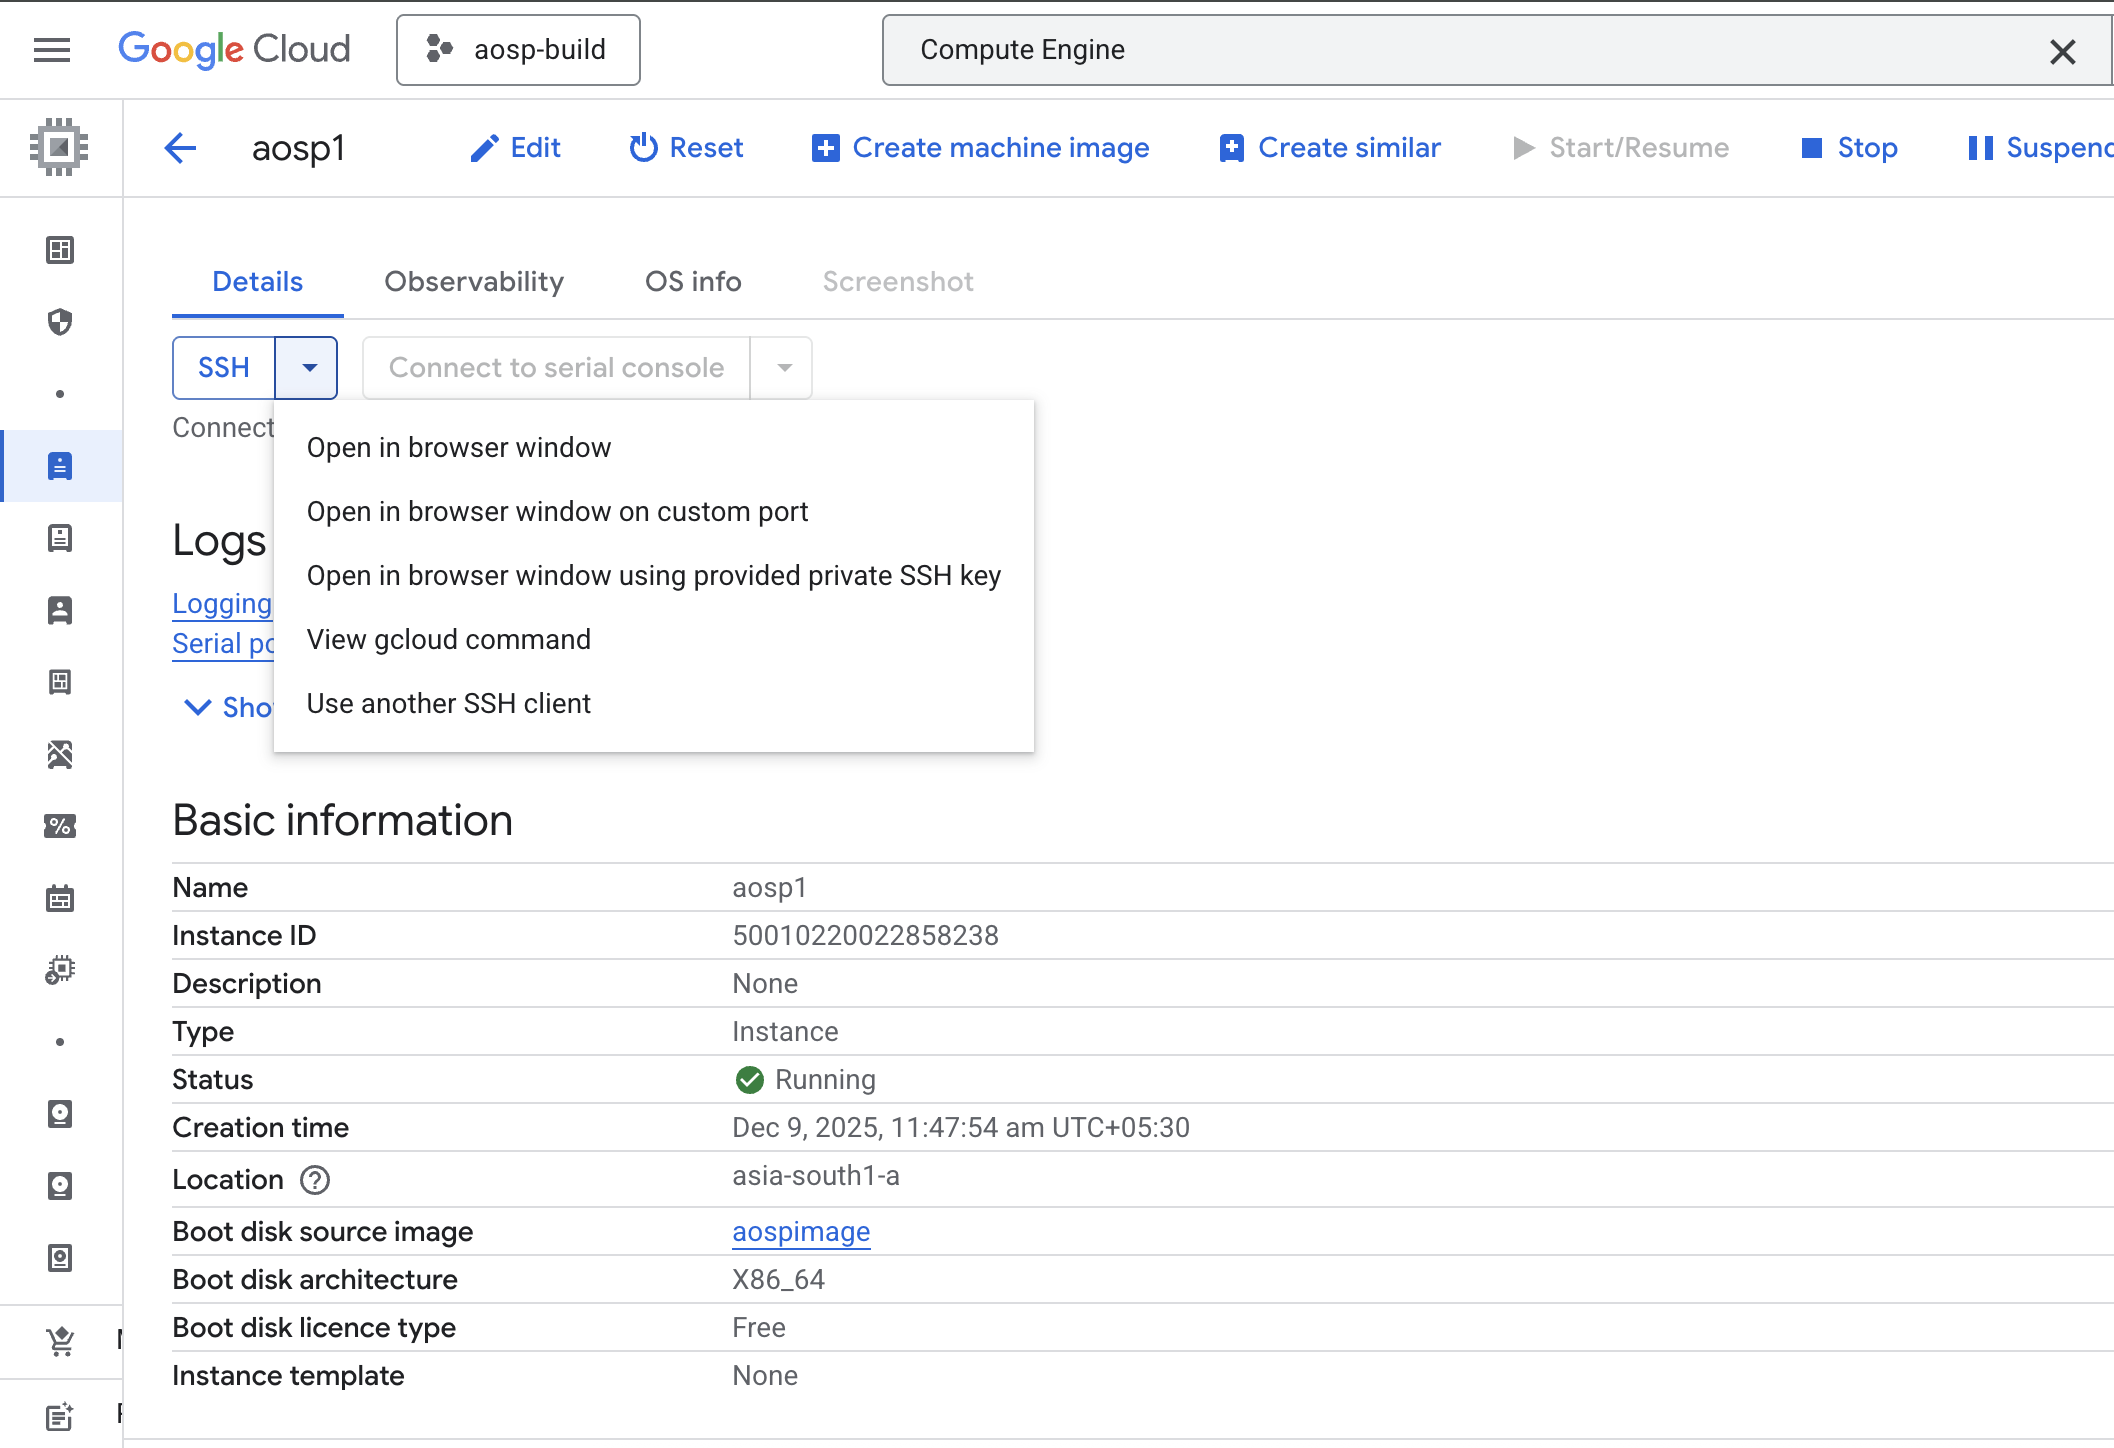
Step 5: SSH access to the VM instance
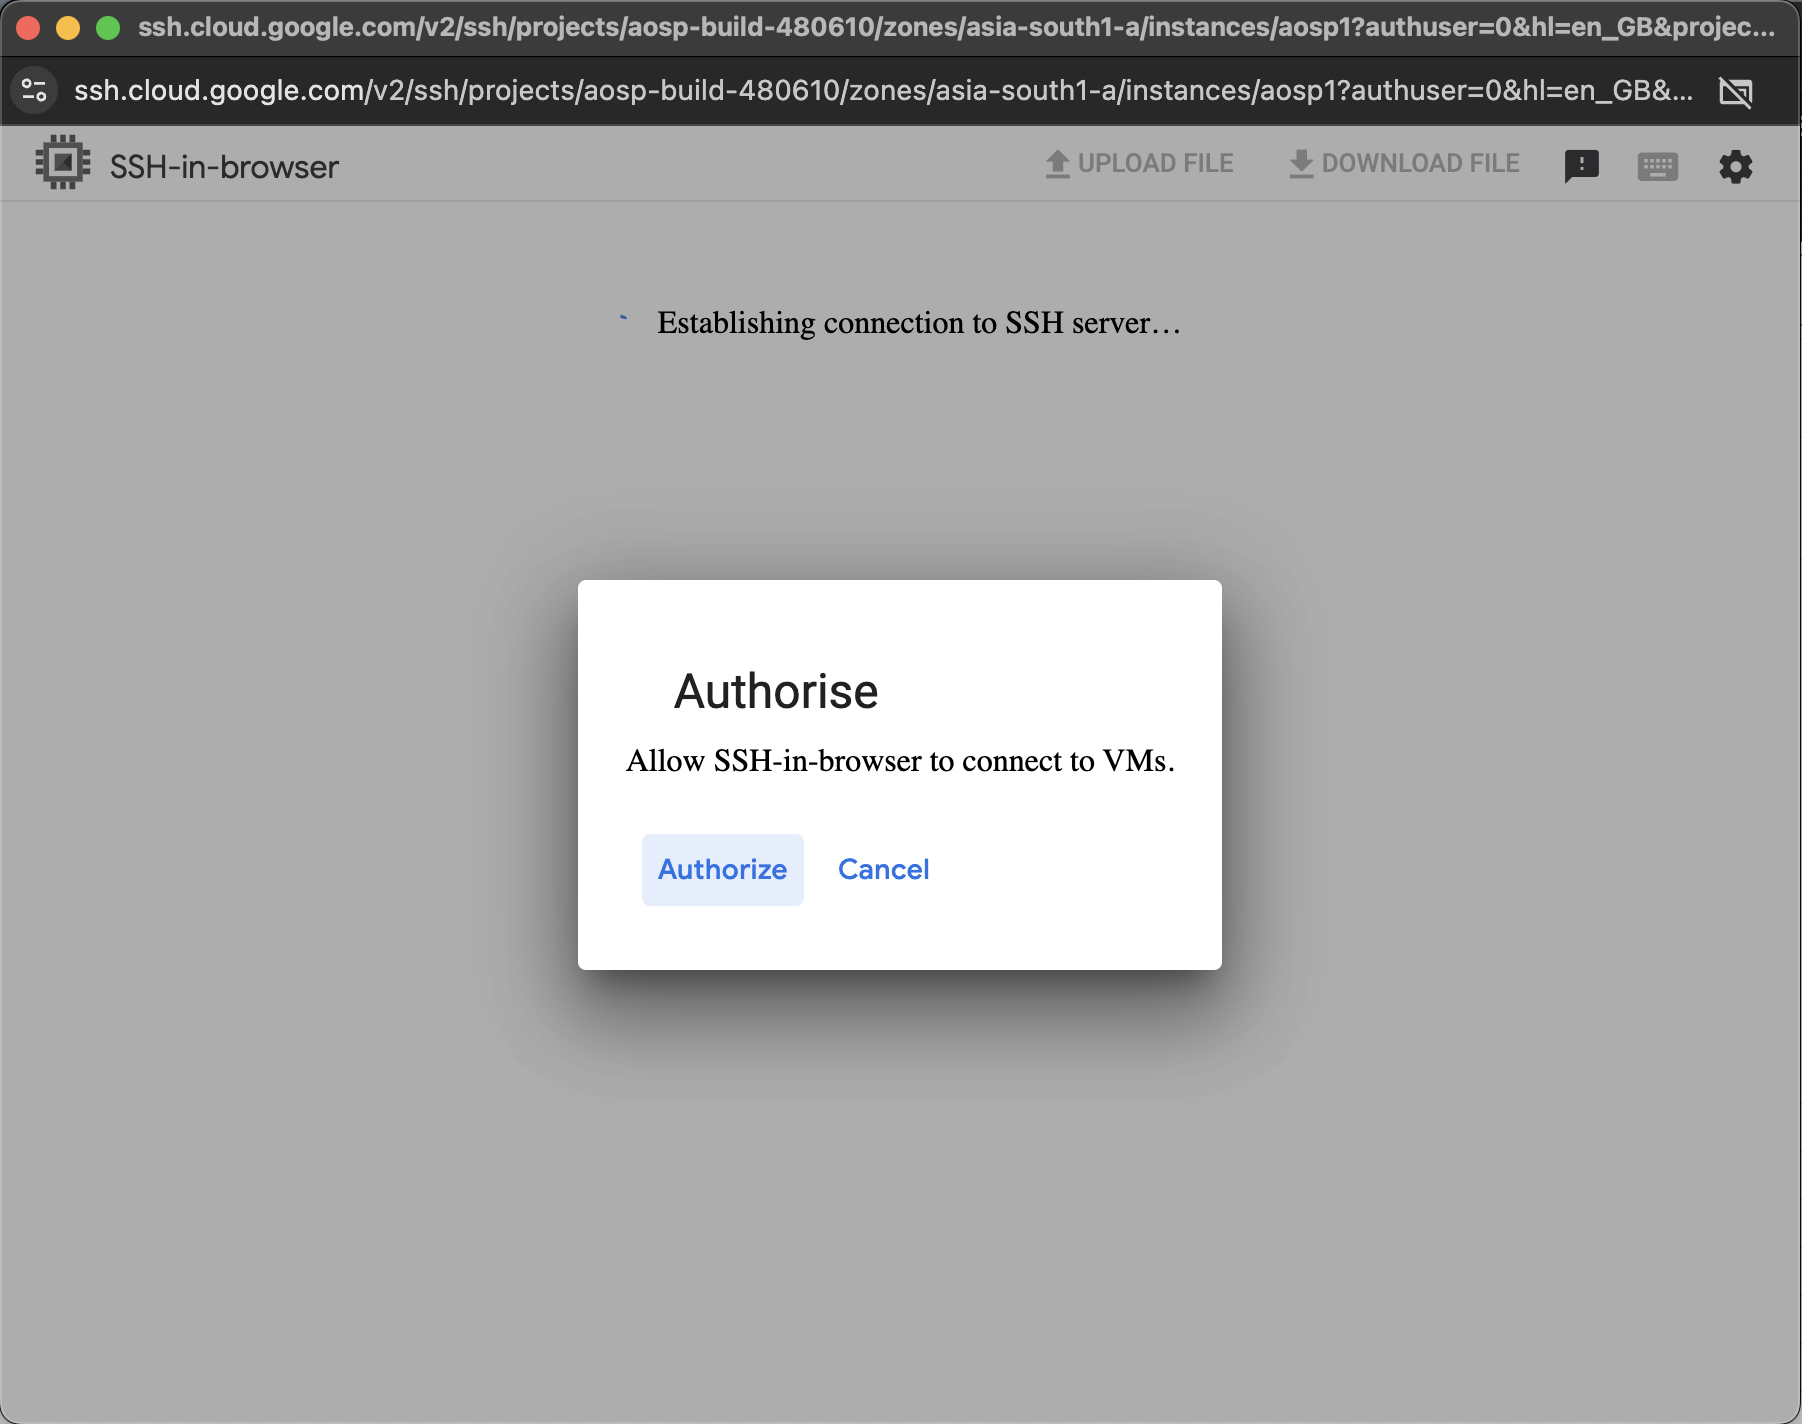
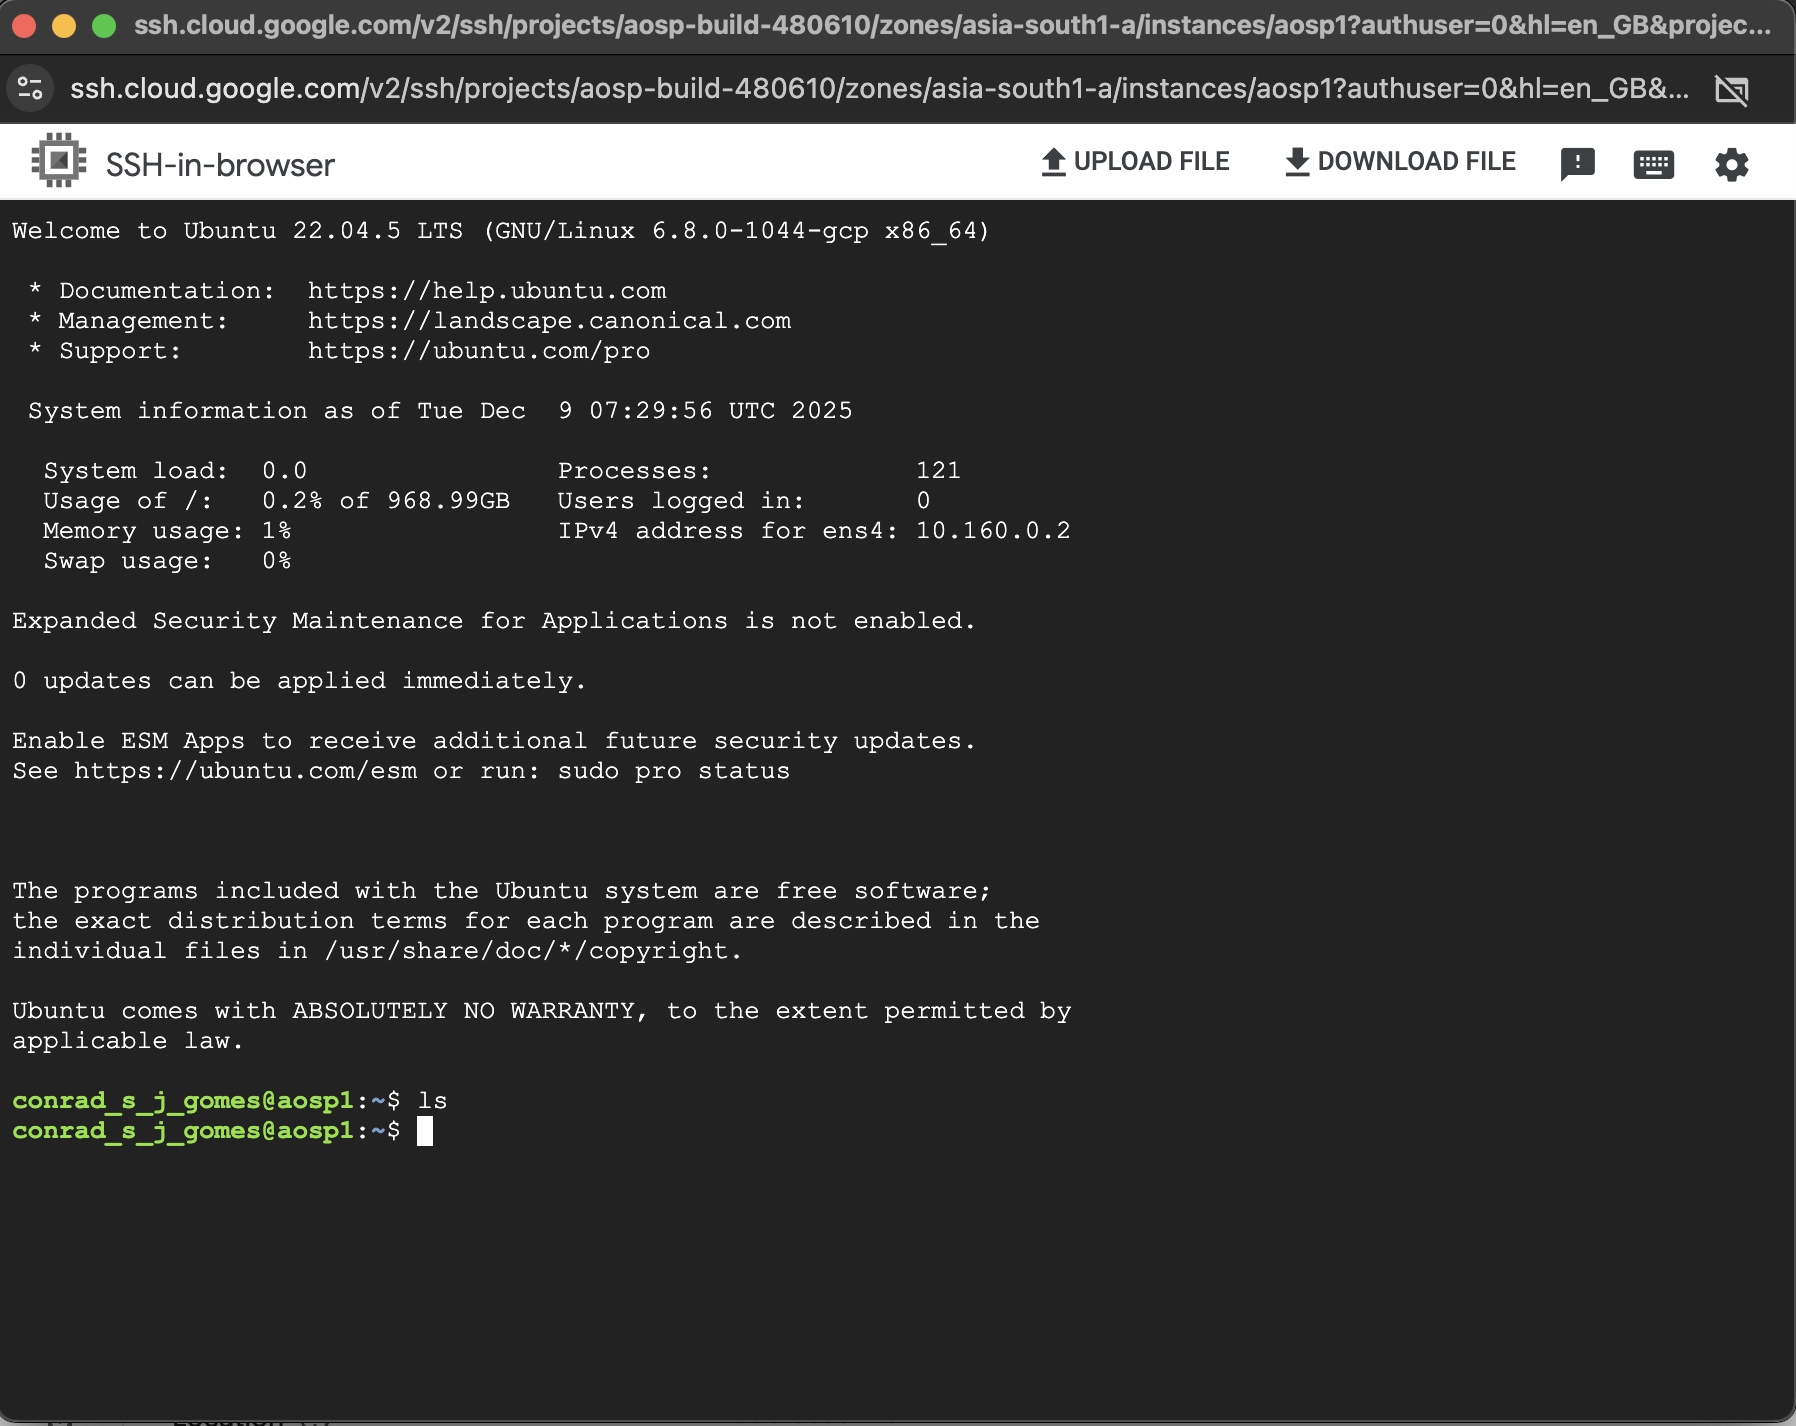
In order to access the machine we can click the “SSH” dropdown and select the “Open in browser window”. A new window pops up asking to authorize SSH-in-browser. Once accepted we have access to the terminal of the instance
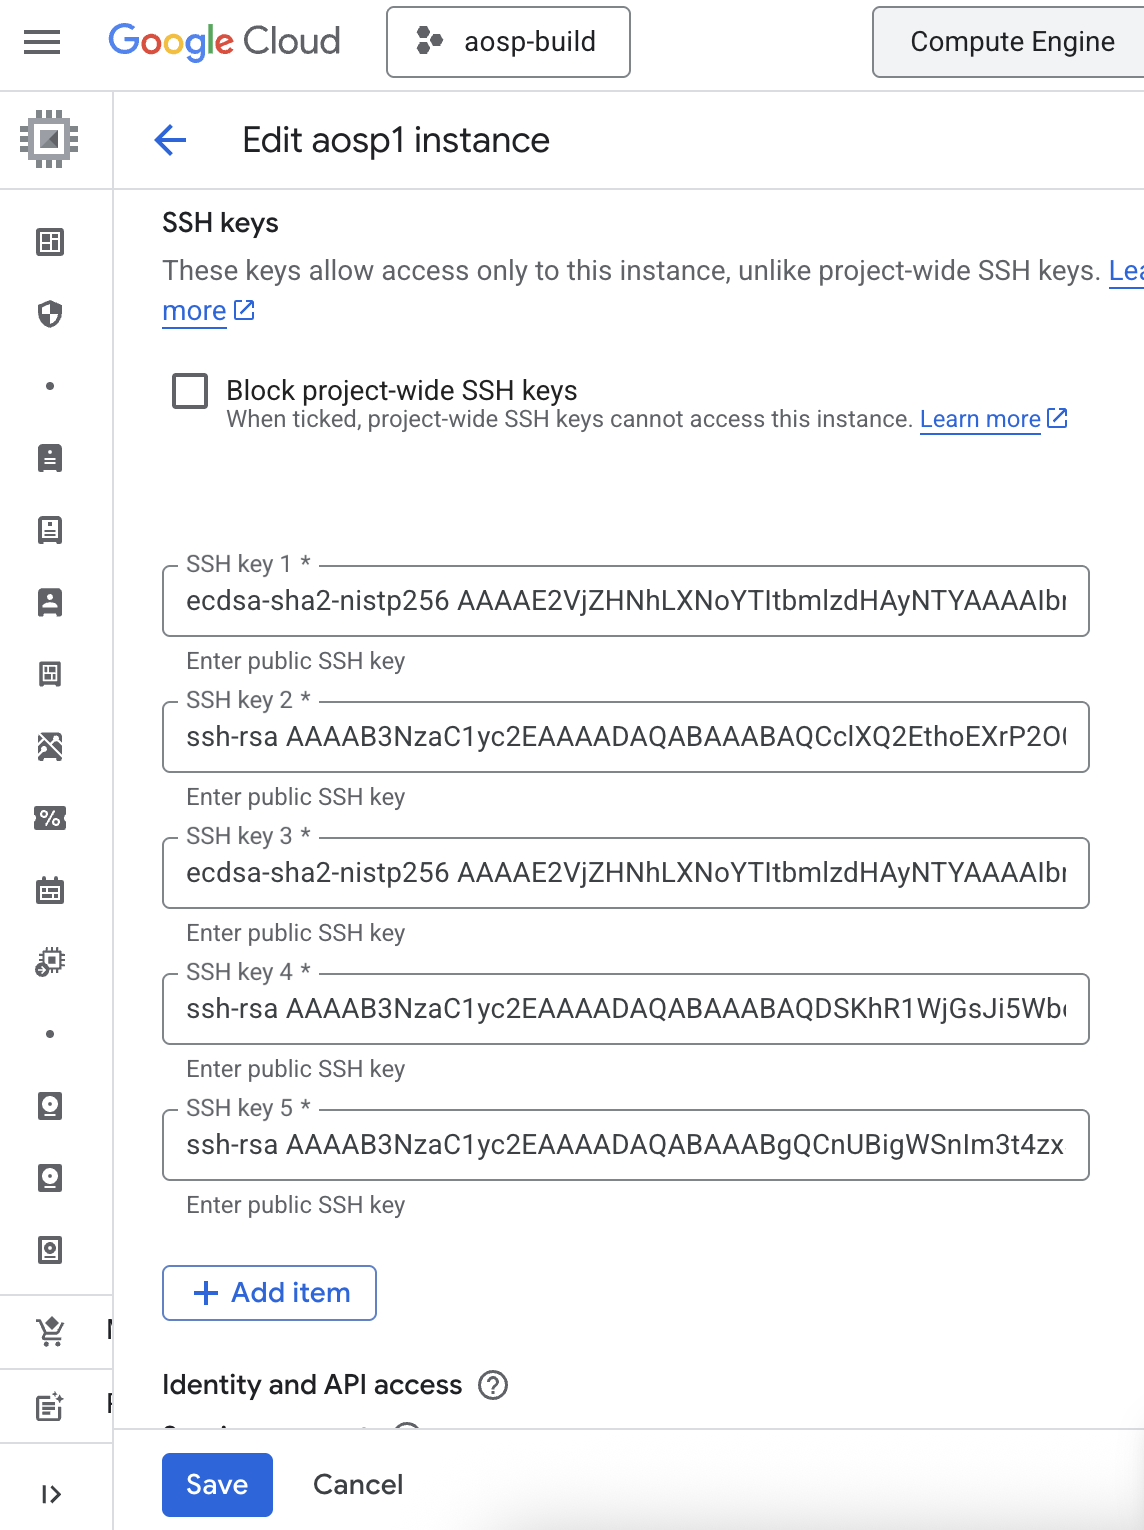
Instead of accessing the VM from the browser we can additionally use SSH from our terminal. To do this we have to stop the VM and edit the metadata settings. Follow the steps in the add SSH keys to instance metadata after VM creation document.
In order to generate the SSH key we use ssh-keygen and specify the type as rsa. The file name
given in the example below is aosp1-gcp. This creates files aosp1-gcp and aosp1-gcp.pub. The
contents of the file aosp1-gcp.pub has to be copied and pasted in the SSH section of the metadata
of the VM.
➜  ssh-keygen -t rsa
Generating public/private rsa key pair.
Enter file in which to save the key (/Users/conrad/.ssh/id_rsa): aosp1-gcp
Enter passphrase for "aosp1-gcp" (empty for no passphrase):
Enter same passphrase again:
Your identification has been saved in aosp1-gcp
Your public key has been saved in aosp1-gcp.pub
The key fingerprint is:
SHA256:k08u+pD/TsVrBu4tpXfZ+wQm+d9ayfyGom0ONwVTGdQ conrad@cnrdmac.local
The key's randomart image is:
+---[RSA 3072]----+
|             .++ |
|             .. E|
|            o    |
|         . . +   |
|        S o = +  |
|       . * o.*o..|
|      o . *o* .Bo|
|       + +oB+.++=|
|      ..oo=*+o.+B|
+----[SHA256]-----+
➜  aosp-gcp cat aosp1-gcp.pub |pbcopy
After saving the SSH key and starting the VM instance we can get the external IP and ssh into it.
➜  ssh -i aosp1-gcp 34.180.42.166
The authenticity of host '34.180.42.166 (34.180.42.166)' can't be established.
ED25519 key fingerprint is SHA256:87rbbY7roPeh92nOnAKt+yan6bkYHOmUwVhCJYoC1pA.
This key is not known by any other names.
Are you sure you want to continue connecting (yes/no/[fingerprint])? yes
Warning: Permanently added '34.180.42.166' (ED25519) to the list of known hosts.
Welcome to Ubuntu 22.04.5 LTS (GNU/Linux 6.8.0-1044-gcp x86_64)

 * Documentation:  https://help.ubuntu.com
 * Management:     https://landscape.canonical.com
 * Support:        https://ubuntu.com/pro

 System information as of Tue Dec  9 11:57:18 UTC 2025

  System load:  0.08               Processes:             107
  Usage of /:   0.2% of 968.99GB   Users logged in:       0
  Memory usage: 3%                 IPv4 address for ens4: 10.160.0.2
  Swap usage:   0%


Expanded Security Maintenance for Applications is not enabled.

0 updates can be applied immediately.

Enable ESM Apps to receive additional future security updates.
See https://ubuntu.com/esm or run: sudo pro status

New release '24.04.3 LTS' available.
Run 'do-release-upgrade' to upgrade to it.


Last login: Tue Dec  9 10:46:35 2025 from 103.129.109.72
We can check the number of cores with VMX support in the ssh terminal session.
conrad@aosp1:~$ grep -c -w "vmx\|svm" /proc/cpuinfo
4
Step 6: Editing the VM machine configuration
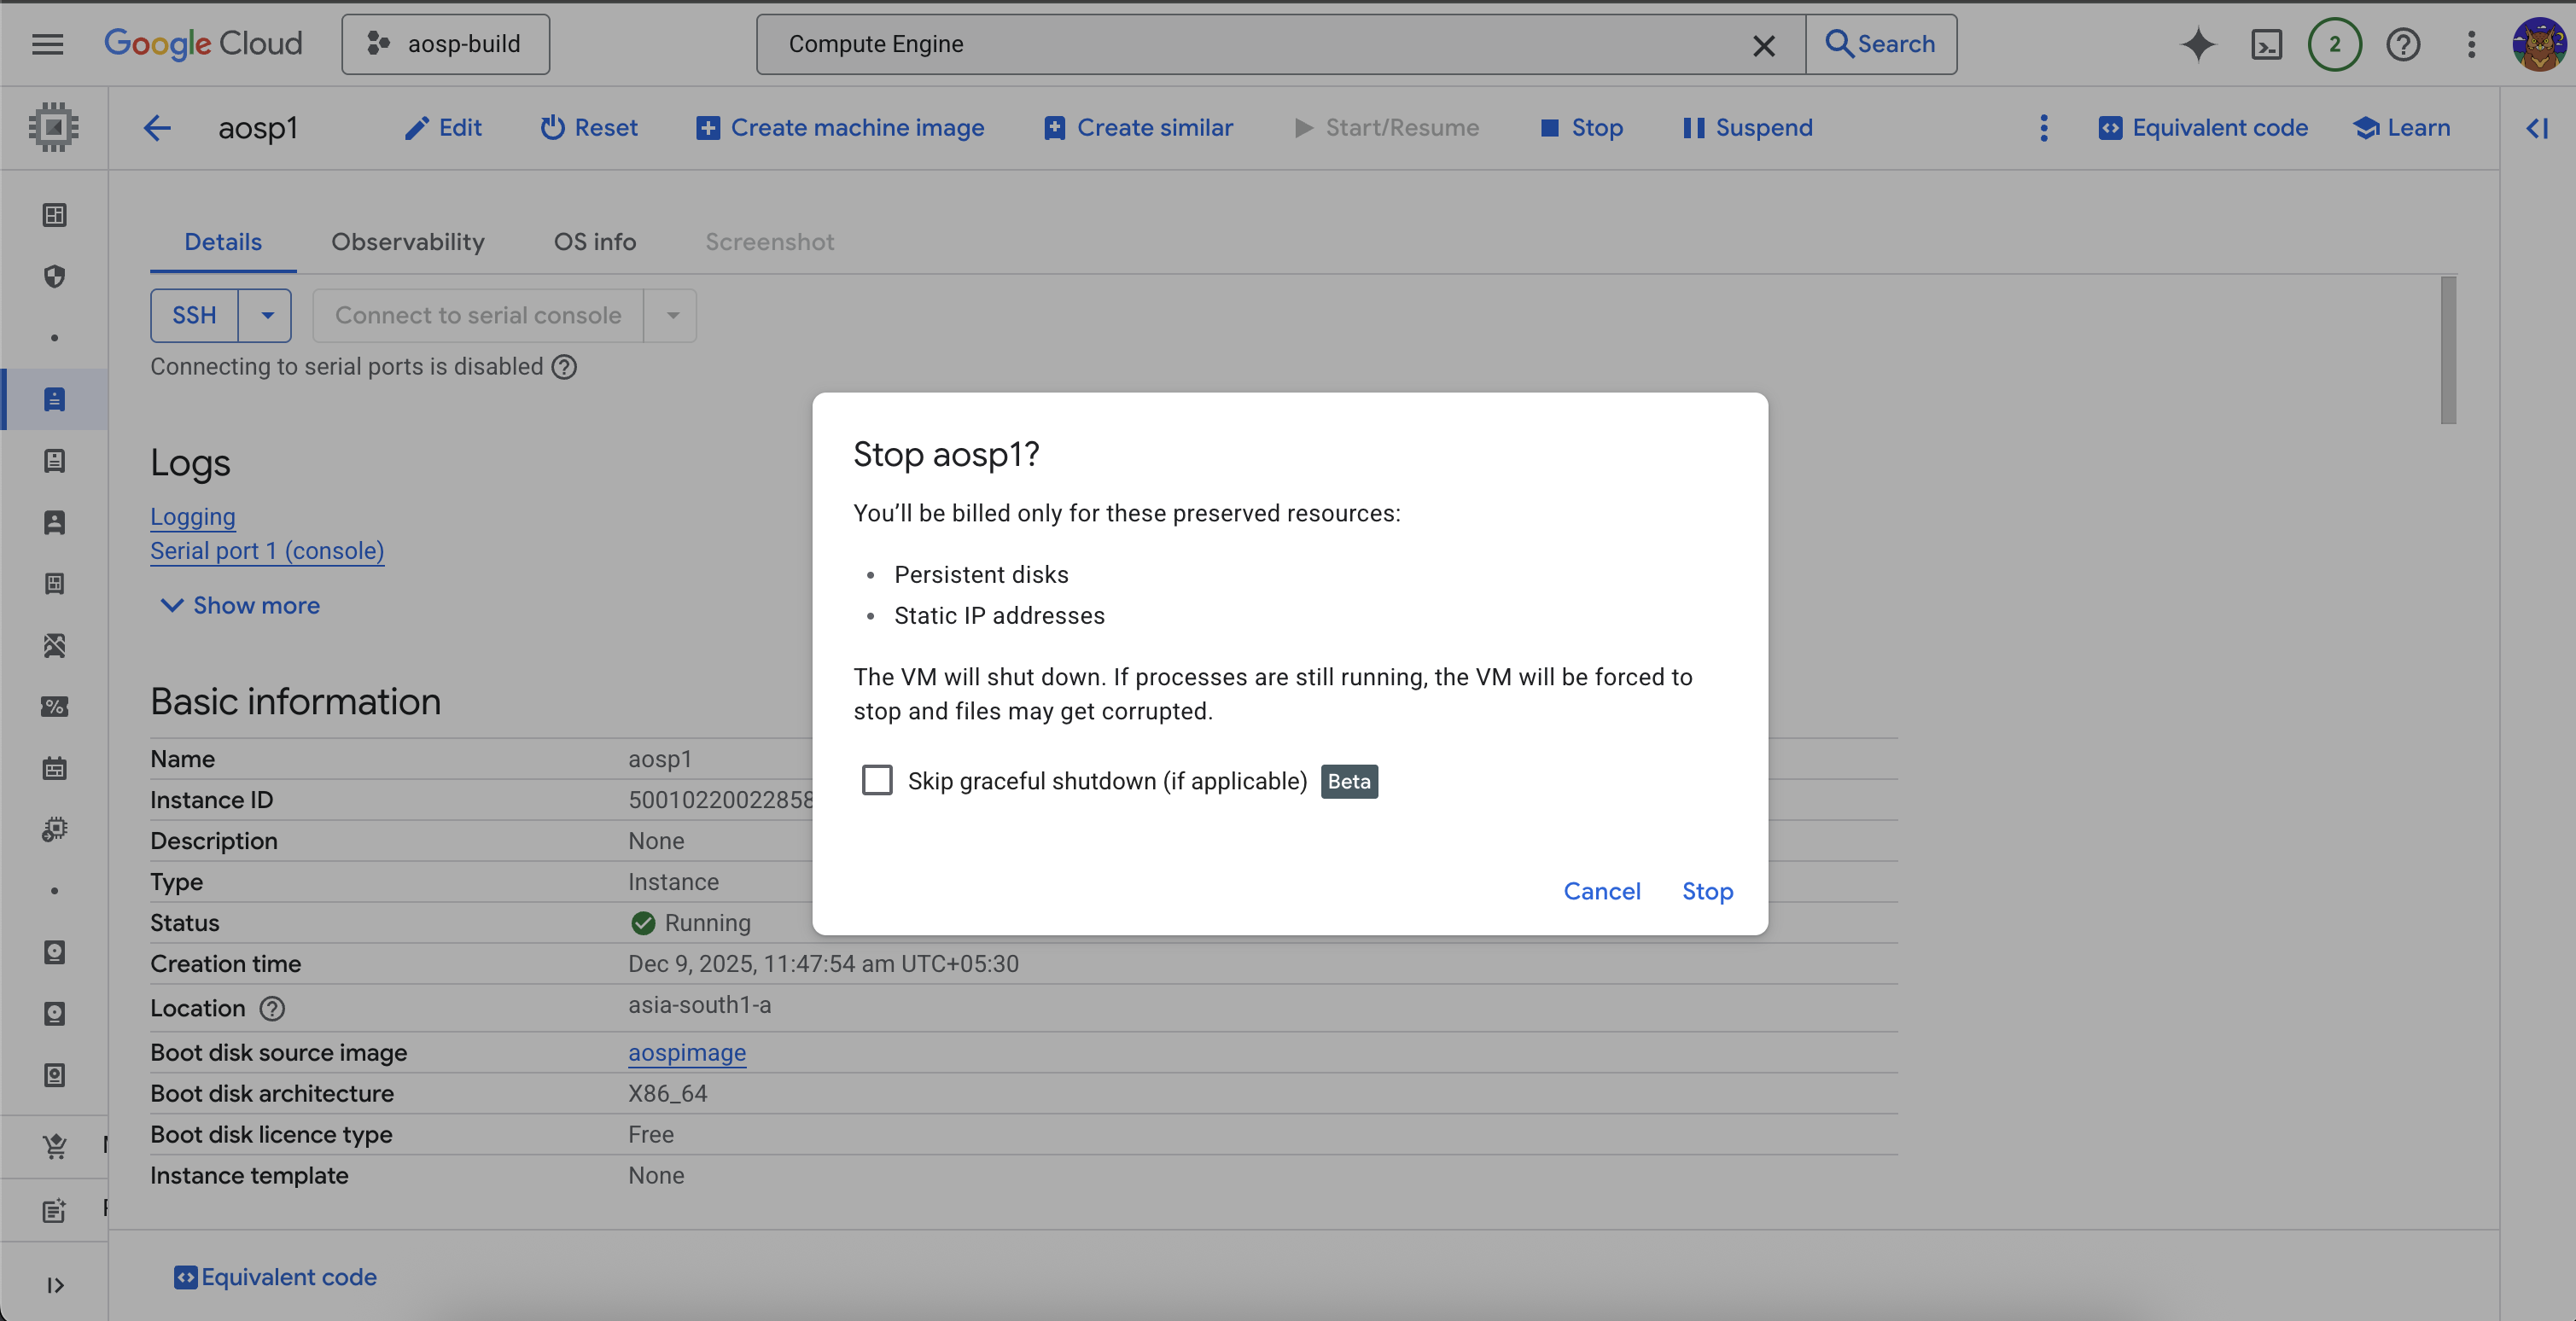
In order to edit the VM machine type we need to stop it. There’s a button to stop the VM. Once done the status shows “stopped”.
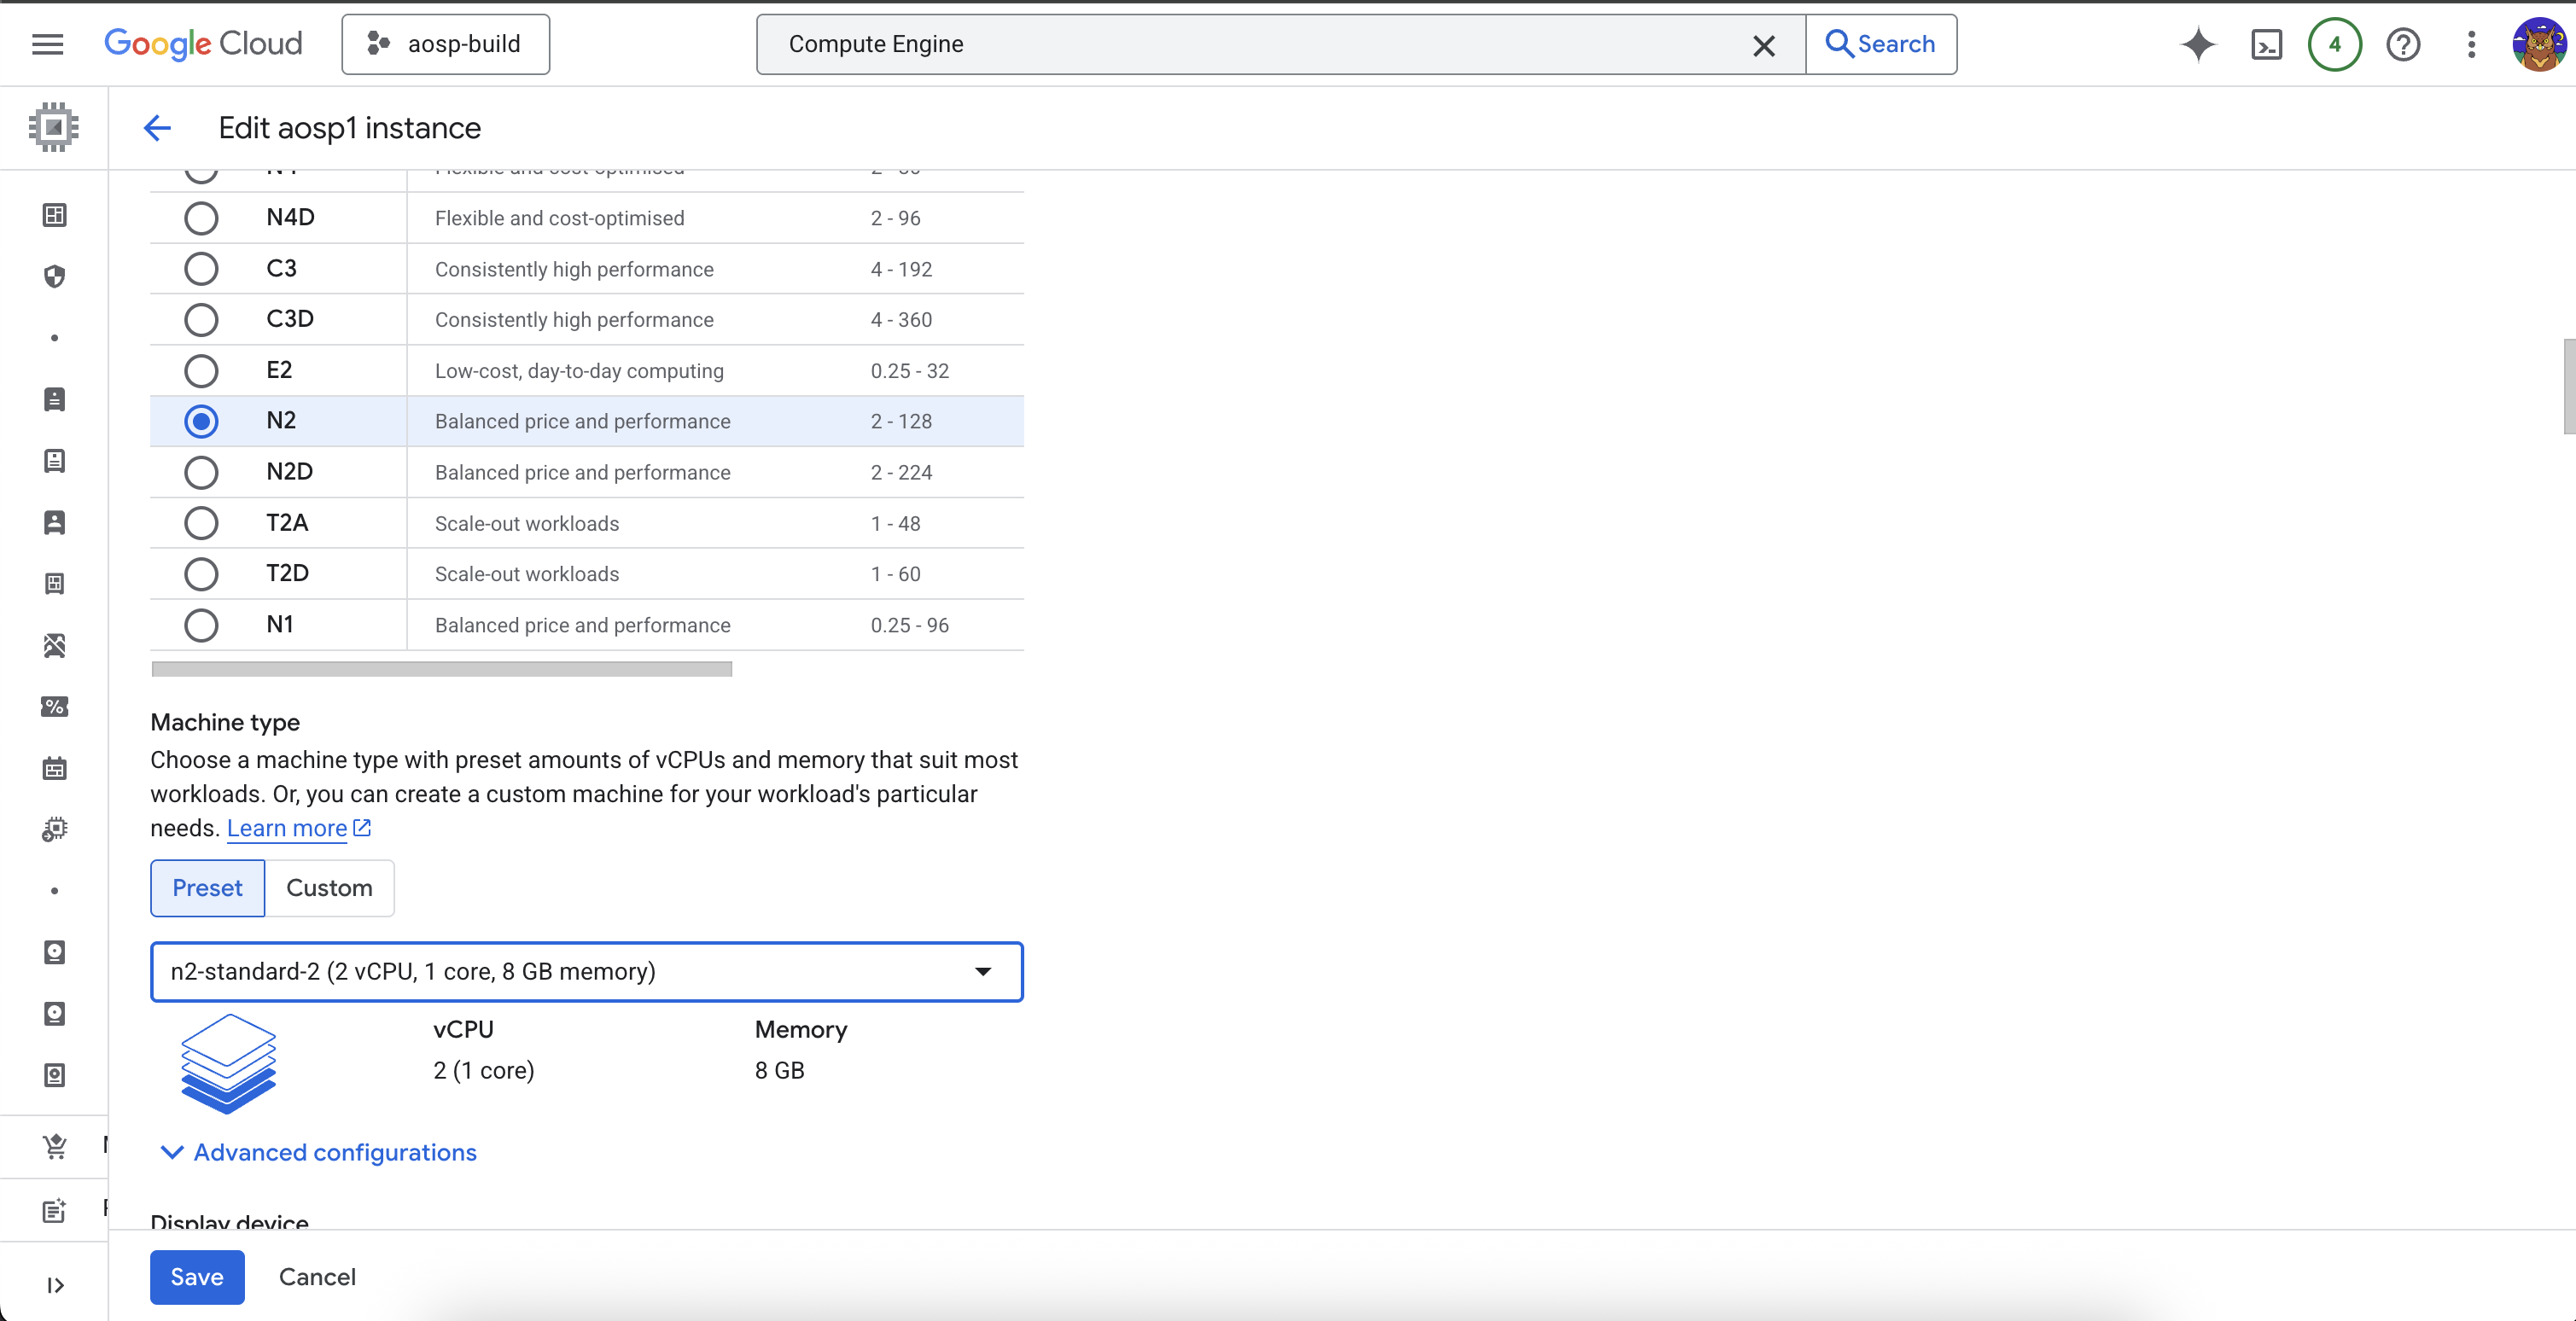
We are going to have to download the AOSP code base which is going to be about 250GB of data. We will
not use a higher configuration machine for this process and will change the machine type to the most
basic type to optimize the overall cost. We select the n2-standard-2 configuration which has
2 vCPU, 1 core, 8 GB memory.
Step 7: Install required packages and software
We can now update the VM machine with sudo apt update
conrad@aosp1:~$ sudo apt update
Hit:1 http://asia-south1.gce.archive.ubuntu.com/ubuntu jammy InRelease
Get:2 http://asia-south1.gce.archive.ubuntu.com/ubuntu jammy-updates InRelease [128 kB]
.
.
.

Get:37 http://security.ubuntu.com/ubuntu jammy-security/multiverse Translation-en [10.2 kB]
Get:38 http://security.ubuntu.com/ubuntu jammy-security/multiverse amd64 c-n-f Metadata [376 B]
Fetched 36.4 MB in 6s (5801 kB/s)
Reading package lists... Done
Building dependency tree... Done
Reading state information... Done
6 packages can be upgraded. Run 'apt list --upgradable' to see them.
We then have to install the required packages.
conrad@aosp1:~$ sudo apt-get install git-core gnupg flex bison build-essential \
zip curl zlib1g-dev libc6-dev-i386 x11proto-core-dev libx11-dev lib32z1-dev \
libgl1-mesa-dev libxml2-utils xsltproc unzip fontconfig
Hit:1 http://asia-south1.gce.archive.ubuntu.com/ubuntu jammy InRelease
Get:2 http://asia-south1.gce.archive.ubuntu.com/ubuntu jammy-updates InRelease [128 kB]
.
.
No VM guests are running outdated hypervisor (qemu) binaries on this host.
Now we have to install the software. This is basically the repo tool.
The version available in the package manager is often outdated (older than 2.4), so we will perform a manual installation.
We will create a bin directory in our local $HOME otherwise the installation fails. Additionally the path
$HOME/bin is present in the $PATH environment variable if it exists so we’ll have to source the ~/.profile.
One important point to note is ~/.profile is not sourced if ~/.bash_profile exists. So if we do create it
we’ll have to repeat the addition to $PATH in that file too.
conrad@aosp1:~$ mkdir ~/bin
The next steps are taken from the manual installation step mentioned in install the software.
conrad@aosp1:~$ export REPO=$(mktemp /tmp/repo.XXXXXXXXX)
curl -o ${REPO} https://storage.googleapis.com/git-repo-downloads/repo
gpg --recv-keys 8BB9AD793E8E6153AF0F9A4416530D5E920F5C65
curl -s https://storage.googleapis.com/git-repo-downloads/repo.asc | gpg --verify - ${REPO} && install -m 755 ${REPO} ~/bin/repo
  % Total    % Received % Xferd  Average Speed   Time    Time     Time  Current
                                 Dload  Upload   Total   Spent    Left  Speed
100 44952  100 44952    0     0   120k      0 --:--:-- --:--:-- --:--:--  120k
gpg: key 16530D5E920F5C65: "Repo Maintainer <repo@android.kernel.org>" not changed
gpg: Total number processed: 1
gpg:              unchanged: 1
gpg: Signature made Mon Apr 14 18:15:04 2025 UTC
gpg:                using DSA key 8BB9AD793E8E6153AF0F9A4416530D5E920F5C65
gpg: Good signature from "Repo Maintainer <repo@android.kernel.org>" [unknown]
gpg: WARNING: This key is not certified with a trusted signature!
gpg:          There is no indication that the signature belongs to the owner.
Primary key fingerprint: 8BB9 AD79 3E8E 6153 AF0F  9A44 1653 0D5E 920F 5C65
gpg: Signature made Mon Apr 14 18:16:30 2025 UTC
gpg:                using RSA key A34A13BE8E76BFF46A0C022DA2E75A824AAB9624
gpg: Good signature from "Repo Maintainer <repo@android.kernel.org>" [unknown]
gpg: WARNING: This key is not certified with a trusted signature!
gpg:          There is no indication that the signature belongs to the owner.
Primary key fingerprint: 8BB9 AD79 3E8E 6153 AF0F  9A44 1653 0D5E 920F 5C65
     Subkey fingerprint: A34A 13BE 8E76 BFF4 6A0C  022D A2E7 5A82 4AAB 9624
gpg: Signature made Mon Apr 14 18:16:30 2025 UTC
gpg:                using EDDSA key E1F9040D7A3F6DAFAC897CD3D3B95DA243E48A39
gpg: Good signature from "Repo Maintainer <repo@android.kernel.org>" [unknown]
gpg: WARNING: This key is not certified with a trusted signature!
gpg:          There is no indication that the signature belongs to the owner.
Primary key fingerprint: 8BB9 AD79 3E8E 6153 AF0F  9A44 1653 0D5E 920F 5C65
     Subkey fingerprint: E1F9 040D 7A3F 6DAF AC89  7CD3 D3B9 5DA2 43E4 8A39
If we inspect the $PATH we cannot see our $HOME/bin path as it was created after booting up.
So we need to source ~/.profile.
conrad@aosp1:~$ echo $PATH
/usr/local/sbin:/usr/local/bin:/usr/sbin:/usr/bin:/sbin:/bin:/usr/games:/usr/local/games:/snap/bin
conrad@aosp1:~$ source ~/.profile
conrad@aosp1:~$ echo $PATH
/home/conrad/bin:/usr/local/sbin:/usr/local/bin:/usr/sbin:/usr/bin:/sbin:/bin:/usr/games:/usr/local/games:/snap/bin
Finally check the repo version to make sure it is above 2.4. Ours is 2.54.
conrad@aosp1:~$ repo version
<repo not installed>
repo launcher version 2.54
       (from /home/conrad/bin/repo)
git 2.34.1
Python 3.10.12 (main, Nov  4 2025, 08:48:33) [GCC 11.4.0]
OS Linux 6.8.0-1044-gcp (#47~22.04.1-Ubuntu SMP Thu Oct 23 21:07:54 UTC 2025)
CPU x86_64 (x86_64)
Bug reports: https://issues.gerritcodereview.com/issues/new?component=1370071
References
- Building AOSP in the Cloud (Video)
- Install the gcloud CLI
- Cuttlefish Virtual Android Device
- Enabling Nested Virtualization on GCP
- Crosvm Introduction
- GCP N2 Machine Types
- Add SSH keys to instance metadata
- AOSP Requirements: Install Packages
- AOSP Requirements: Install Software
- AOSP Hardware Requirements
- Building an Android Firmware Build Machine
- 8man.tech